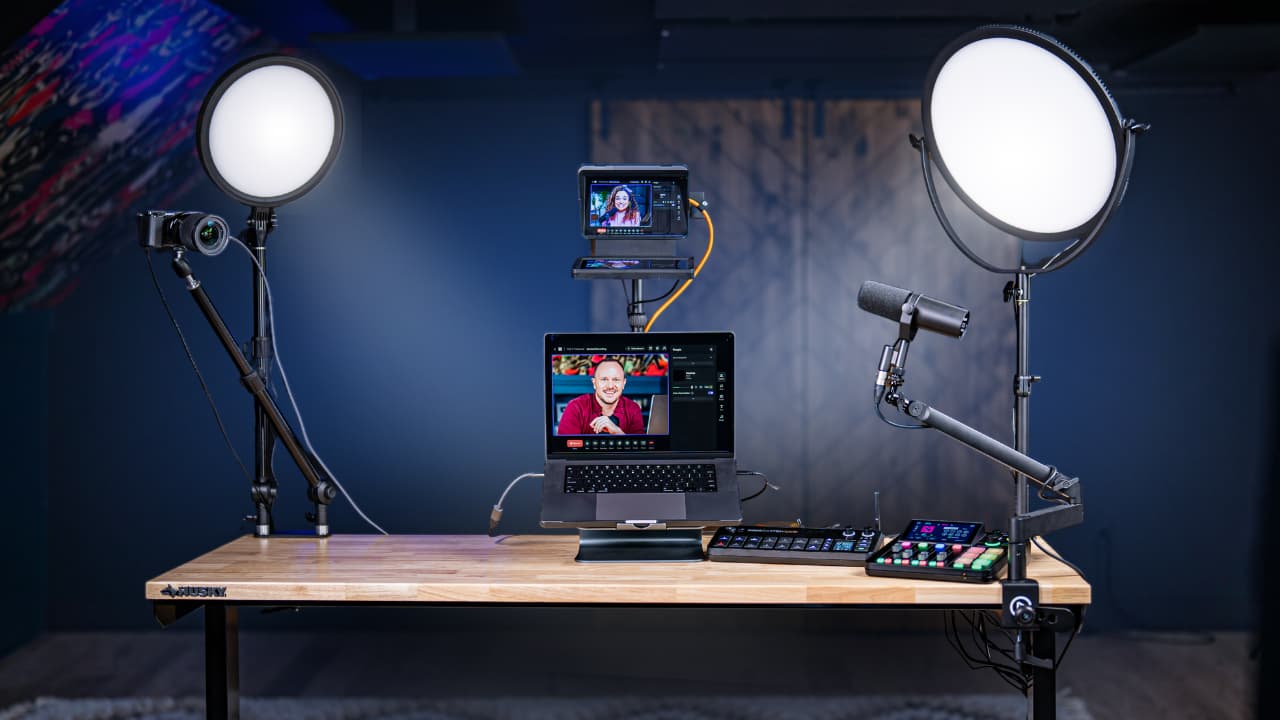
Studio builds
See how we used three lights to shape the subject, soften shadows, and create a warm podcast background.
Some links in this story are affiliate links. If you buy through them, we may earn a commission at no extra cost to you.
The key light shapes the face.
An accent lamp gives the background a mood.
A small highlight can separate a plant or prop from the darker room.
| Role | Placement goal | What to watch |
|---|---|---|
| Key | Shape the face | Softness and shadows |
| Accent | Build warmth in the background | Brightness relative to the face |
| Highlight | Separate a background object | Spill into the lens or subject |
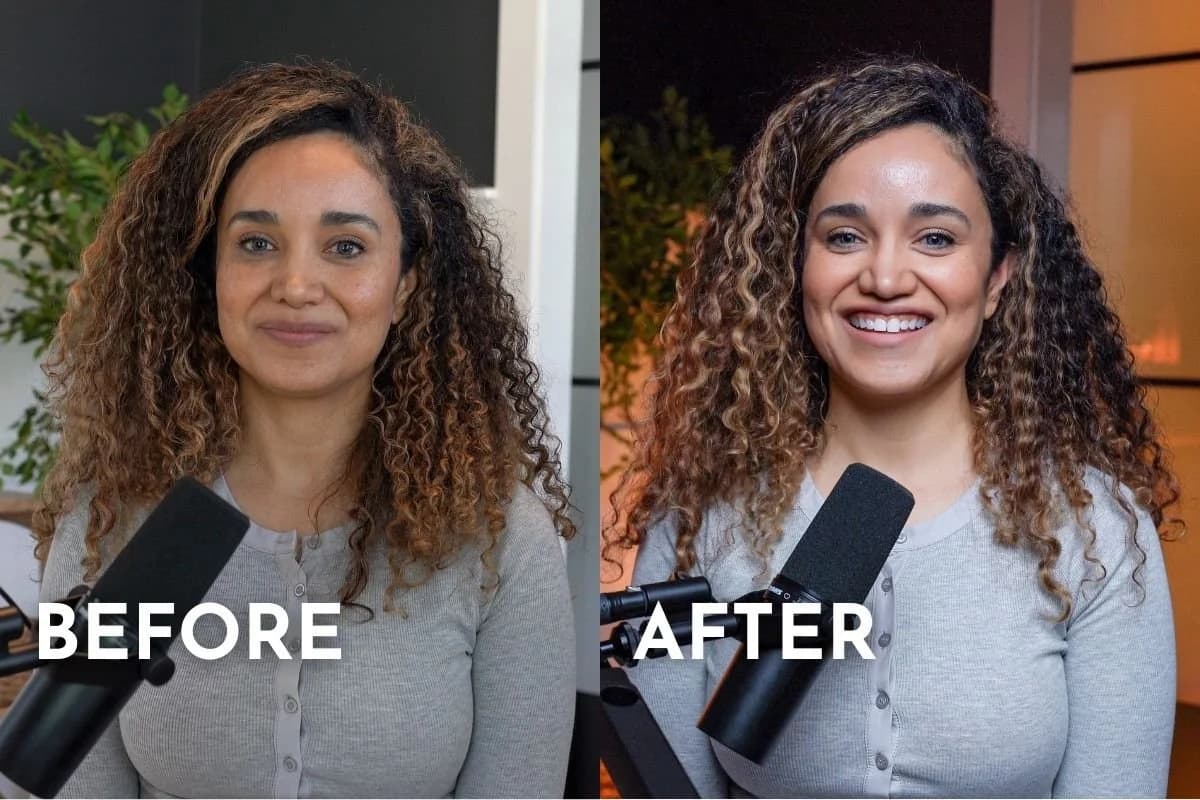
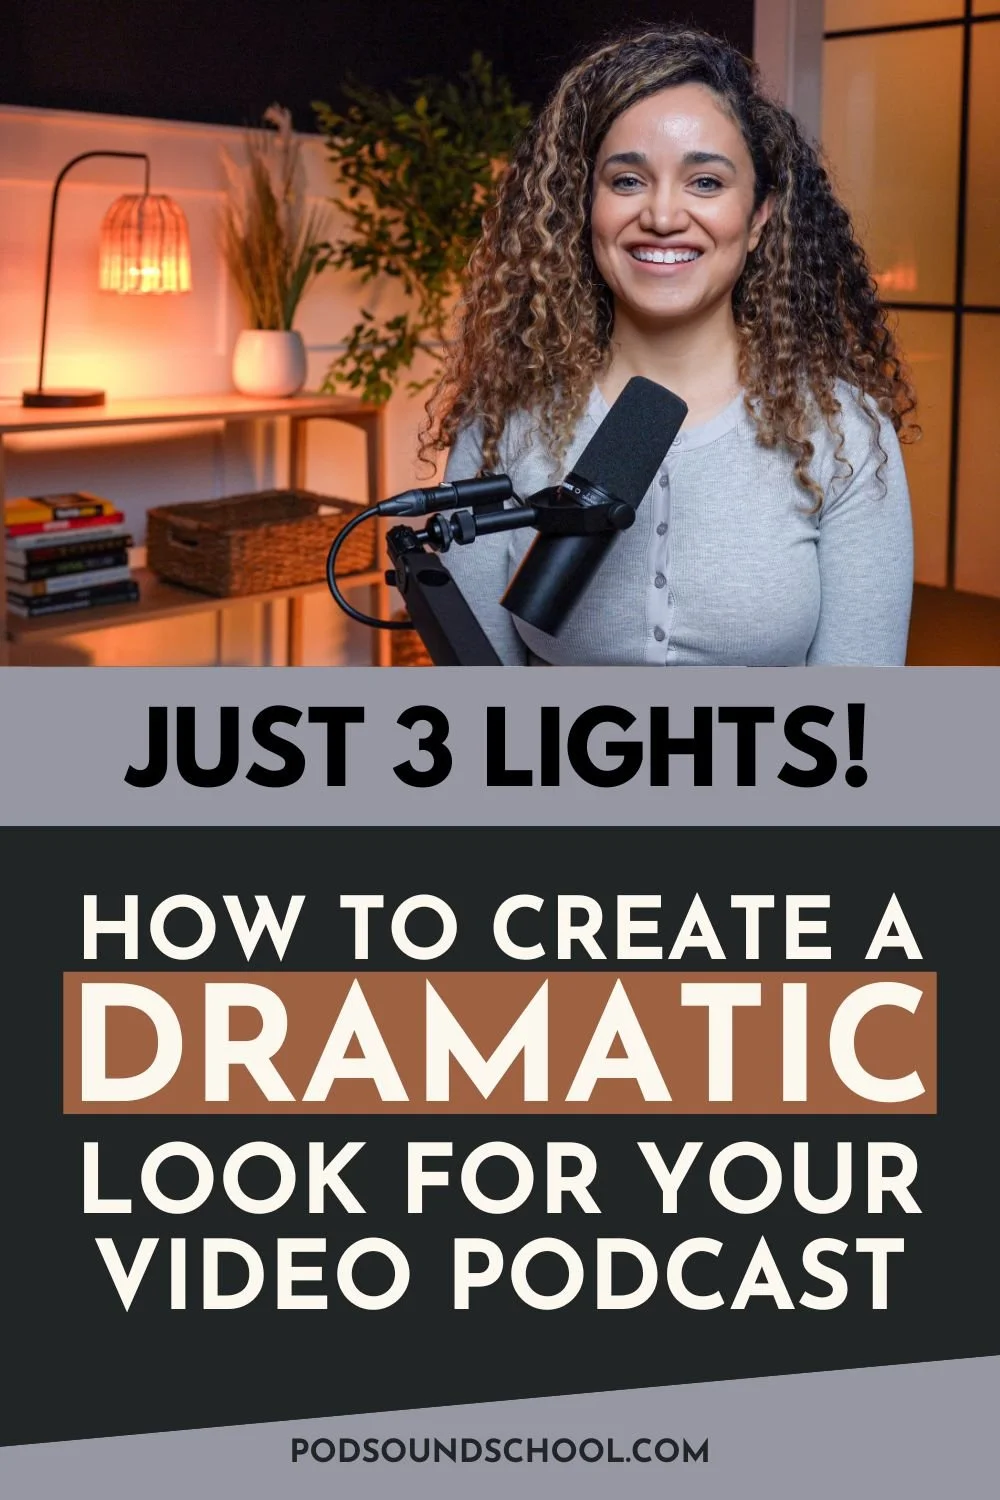
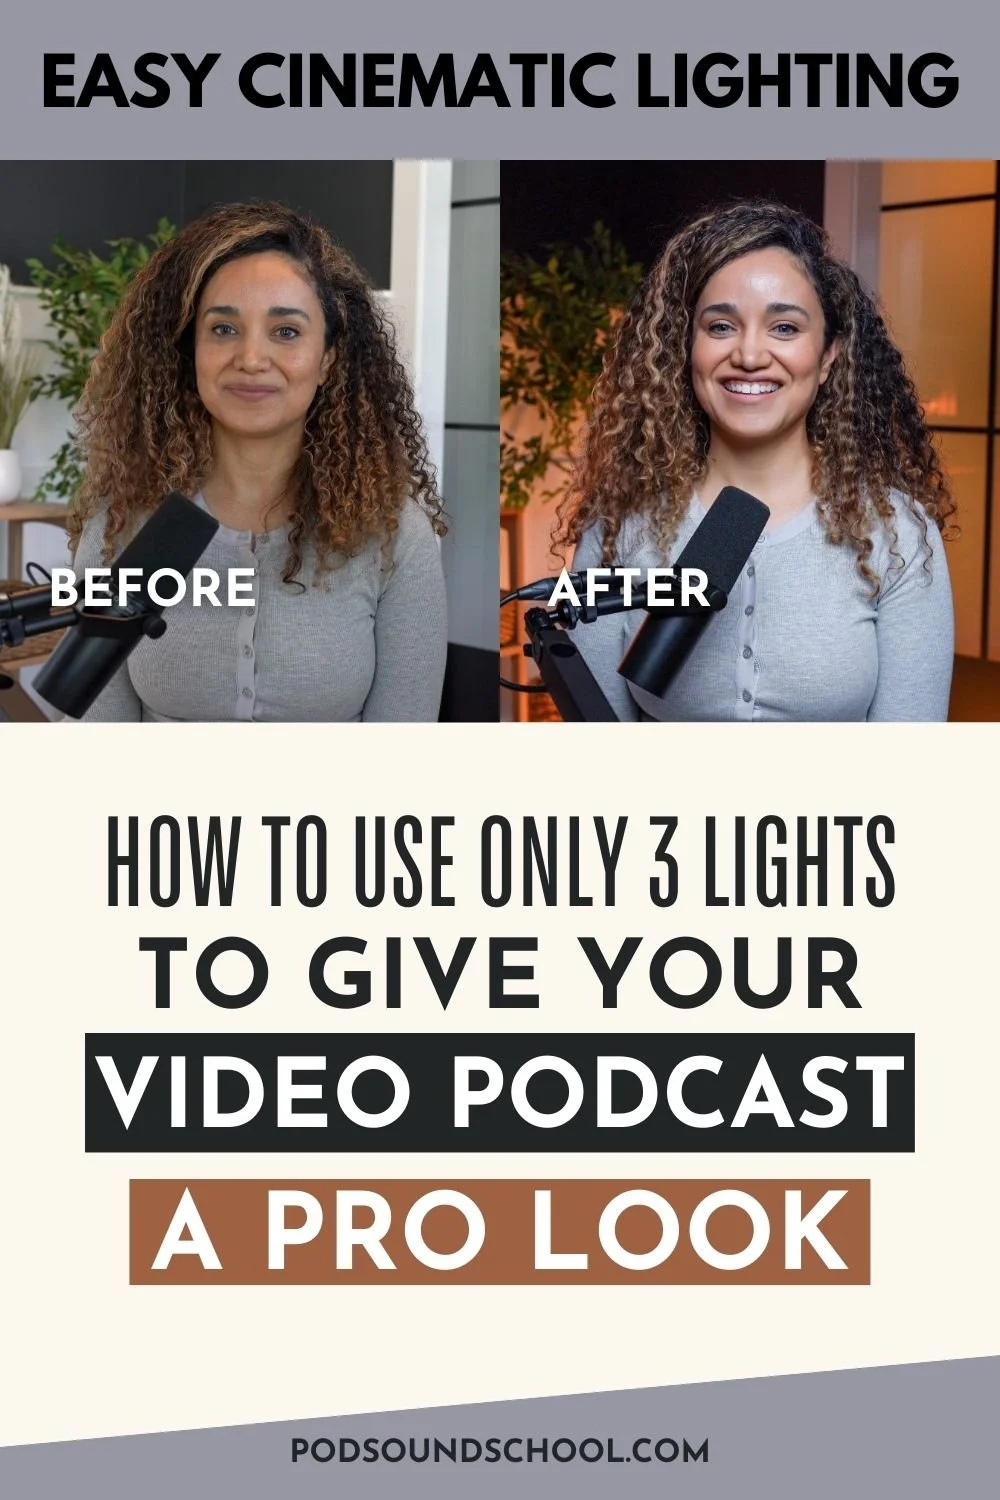
How can you create a more cinematic look for your video podcast without breaking the bank? To show you how to turn a boring video podcast studio into something more cinematic, intimate, and professional, I’ll walk you through the easy lighting makeover I gave my at-home office, aka video podcasting studio.
I'm very excited about the new dramatic look because it's something that I wanted for my podcast, Content Jefe.
When my audience watches my episodes, I want them to feel like they're right here in my studio with me at night, just having a cozy conversation.
Easy Cinematic Lighting Setup for Video Podcasts (With Just 3 Lights!), original studio photograph
Before we start, if this is your first time here, Welcome to the PSS Creative Media! I’m Veronica, the marketing director and instructor in our programs.
My job is to help you make a podcast that attracts the right audience so you can hit your personal or business goals.
If you’re a business owner, this is a great time to:
start a podcast to educate prospects about what you do
become a trusted authority in your industry
connect with your customers
The lighting setup that I created is actually very simple.
I only used three lights but they dramatically changed how my podcast looks.
The three lights that I used to achieve a dramatic look here in my at-home podcast studio are:
FIRST: a key light in front of me
SECOND: two ambient lights in my background to make the environment more intimate and cozy
To set up the main light that will illuminate your face, you're going to need three things:
the light (obviously)
a C-stand
a softbox
The light that I'm using as a key light here in my office is the Amaran 100dS. The 100 number represents the watts, which is the brightness and the power potential of the light.
This light is perfect for illuminating small rooms like my office.
But if you're thinking about illuminating a bigger area, maybe your studio is a little bit bigger, you're going to need a more powerful light.
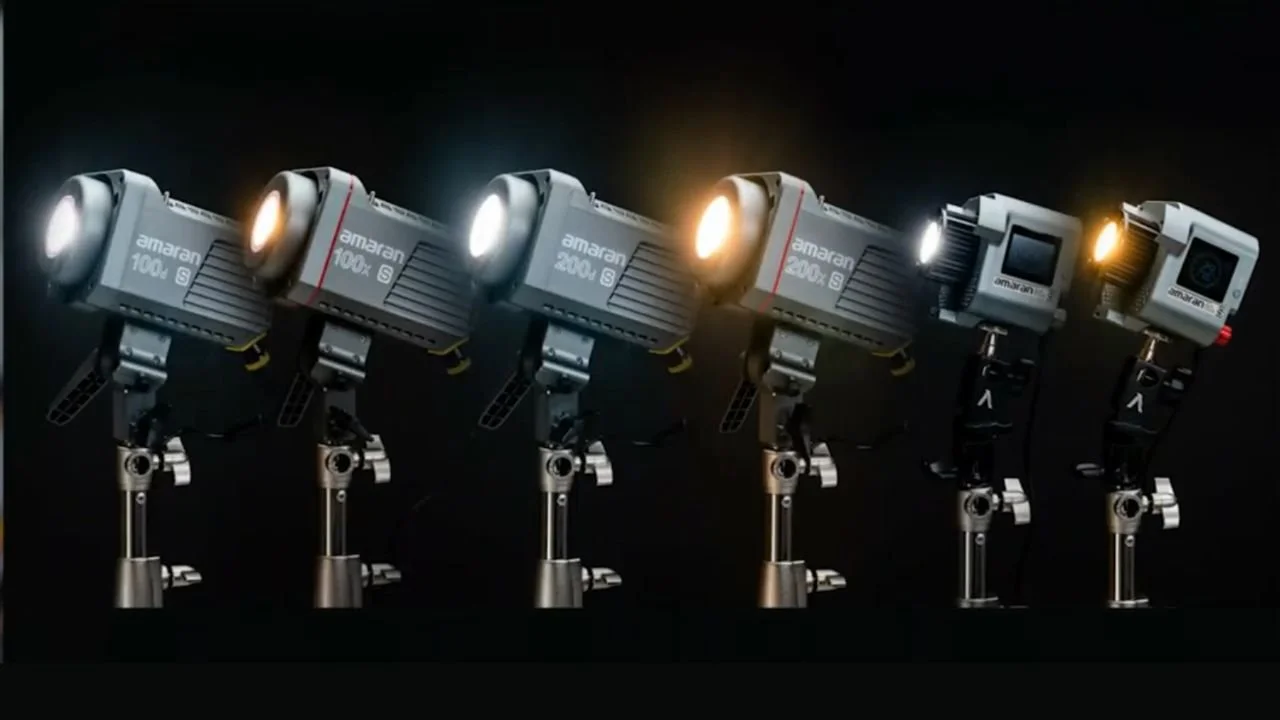
Pay attention to the number of watts and make sure it's higher than 100, but this 100-watt light is perfect for my office.
D stands for daylight, which is 5600 Kelvin. Kelvin is how you measure the temperature of the light.
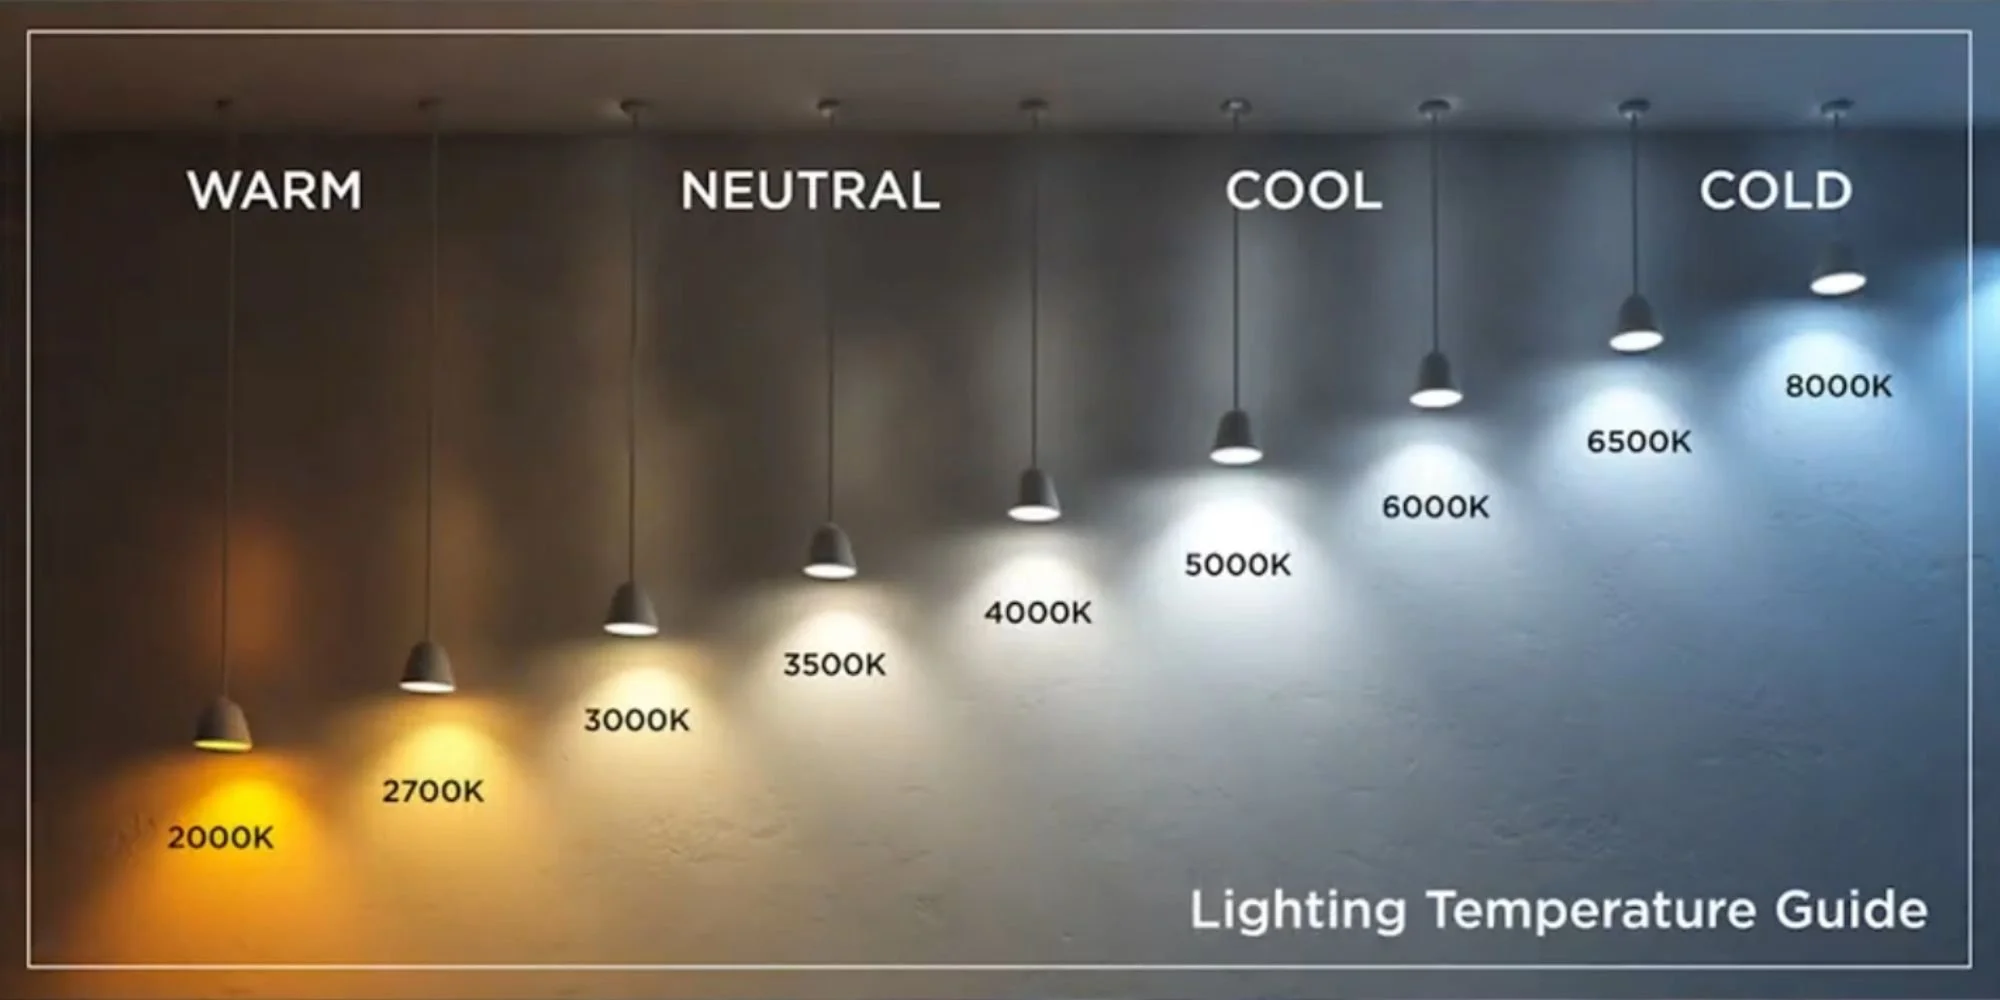
Choose a key-light color temperature that fits the look and other light in the room, then match the camera’s white balance. Daylight is one useful starting point, not a rule for every scene.
If you don't do this, you're going to run the risk of looking bluish or orange in your videos so you want to avoid this!
And for my C-Stand, I'm using the Neewer Heavy Duty Light Stand with Casters.
What I like about this C-Stand the most is that…
it’s movable so I can easily wheel it around my office in case I want to change the shot
it’s on wheels so I don't have to carry a heavy light or the heavy C-Stand, I can just wheel it around, that's what I like the most
it doubles as a tripod for my camera, take a look at this blog post and video to see how I set up my C-Stand
I have my camera and lighting attached to the C-Stand so everything is on wheels.
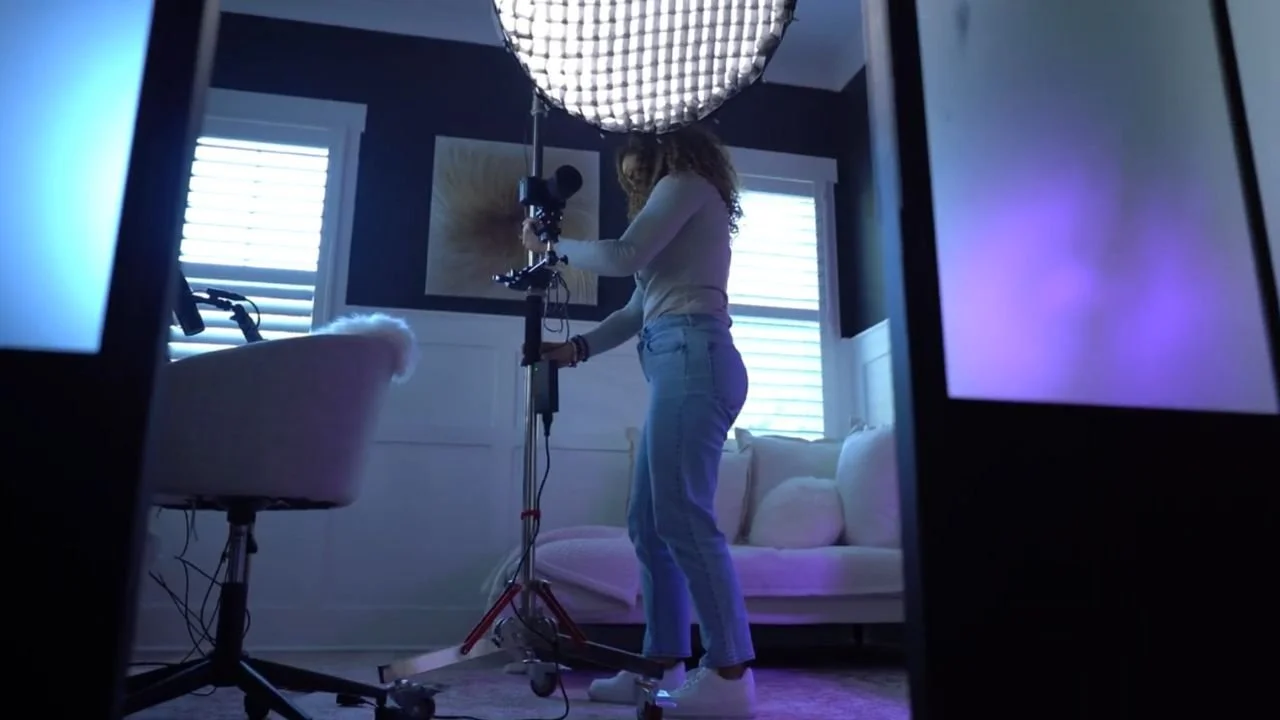
Since everything is on wheels, I can easily record my video podcast in any location here on the first floor of my home.
The last thing that you need for your key light is a softbox. Don't use a key light without a softbox.
I know that a softbox can be a little bit pricey, 100 bucks, and even more, but it's something that you are going to need because it softens the light and distributes the light evenly making you look all glamorous.
If you use the light without any softbox (as pictured below), the light will shine on you with ALL of its force, create harsh shadows, and be too overwhelmingly bright for you to sit and record your video podcast.
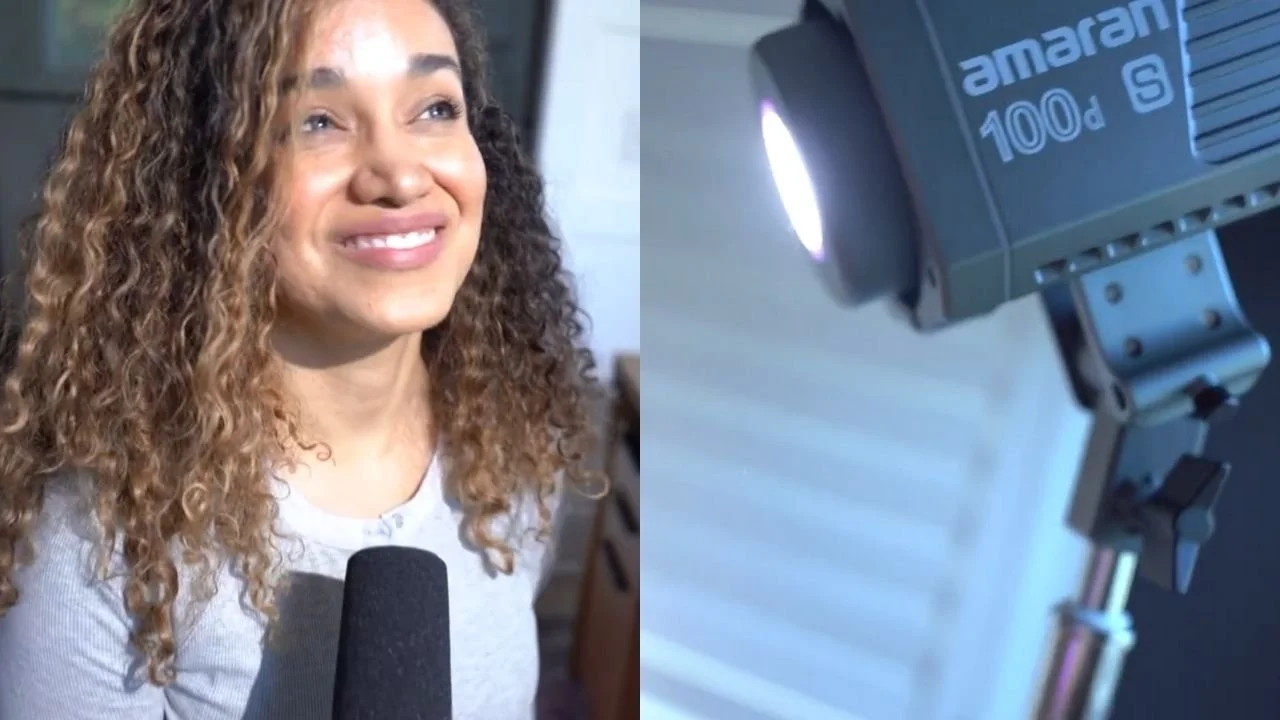
So far, the softbox I've been using in my at-home studio/office is the Aperture Lantern Softbox, and that's a good option as well, but it doesn’t give me the dramatic look I want for my video podcast.
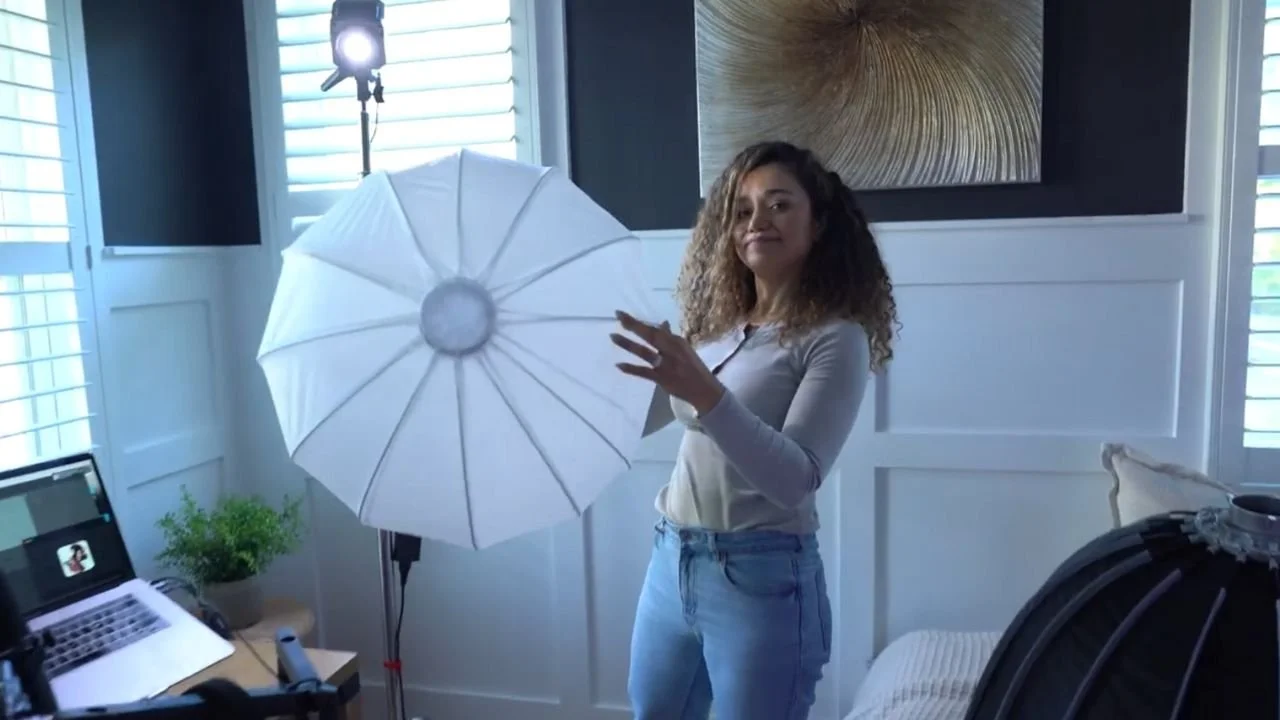
A lantern softbox is designed to illuminate an entire space so it doesn't give me that dark, more professional-looking, and intimate background I want for my video podcast.
So I went on Amazon and this time I ordered the Neewer Parabolic Softbox with a Grid.
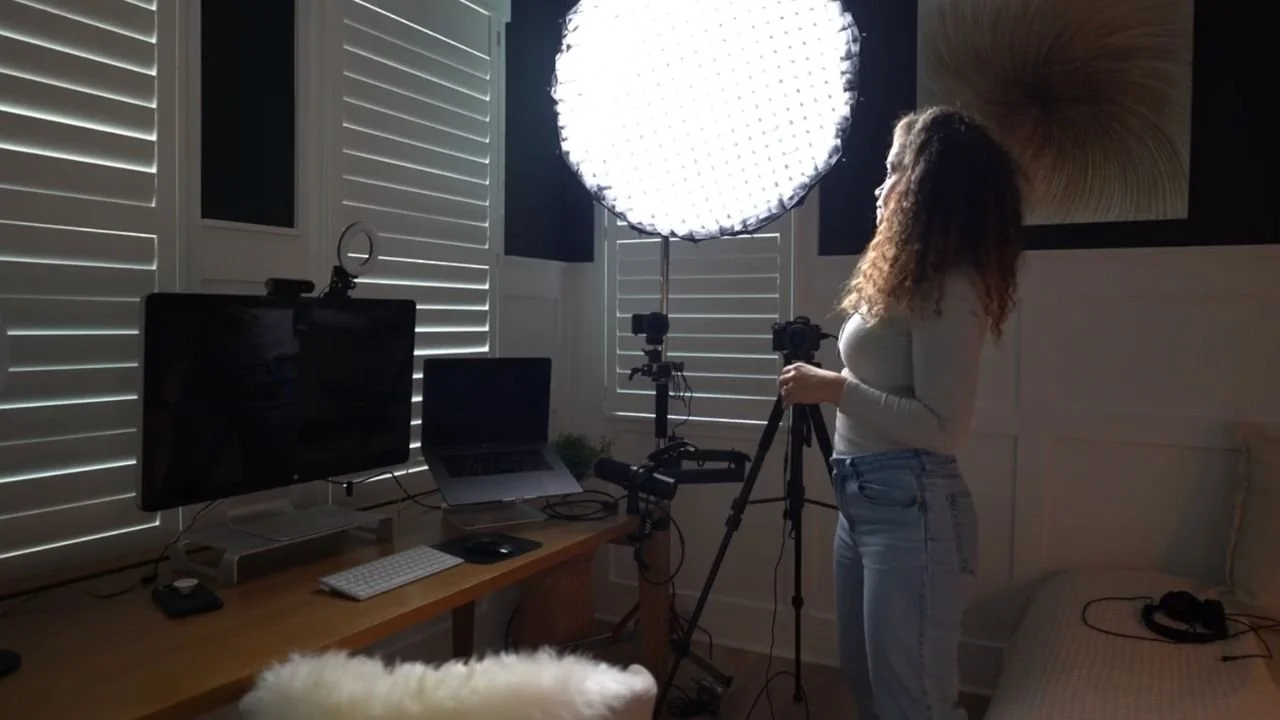
What I like about this softbox is that it diffuses the light more and directs the light towards my face, making the rest of my office dark, which is the look I'm trying to achieve.
Another thing that you can play with is where you put your key light.
I like my key light right in front of me with all of the light shining on my face.
For a different look, I have seen other creators on YouTube (like THAT ICELANDIC GUY) position the key light at a 45-degree angle to cast a shadow on the other side of their face. If you’re looking for a more dramatic look, try this angle.
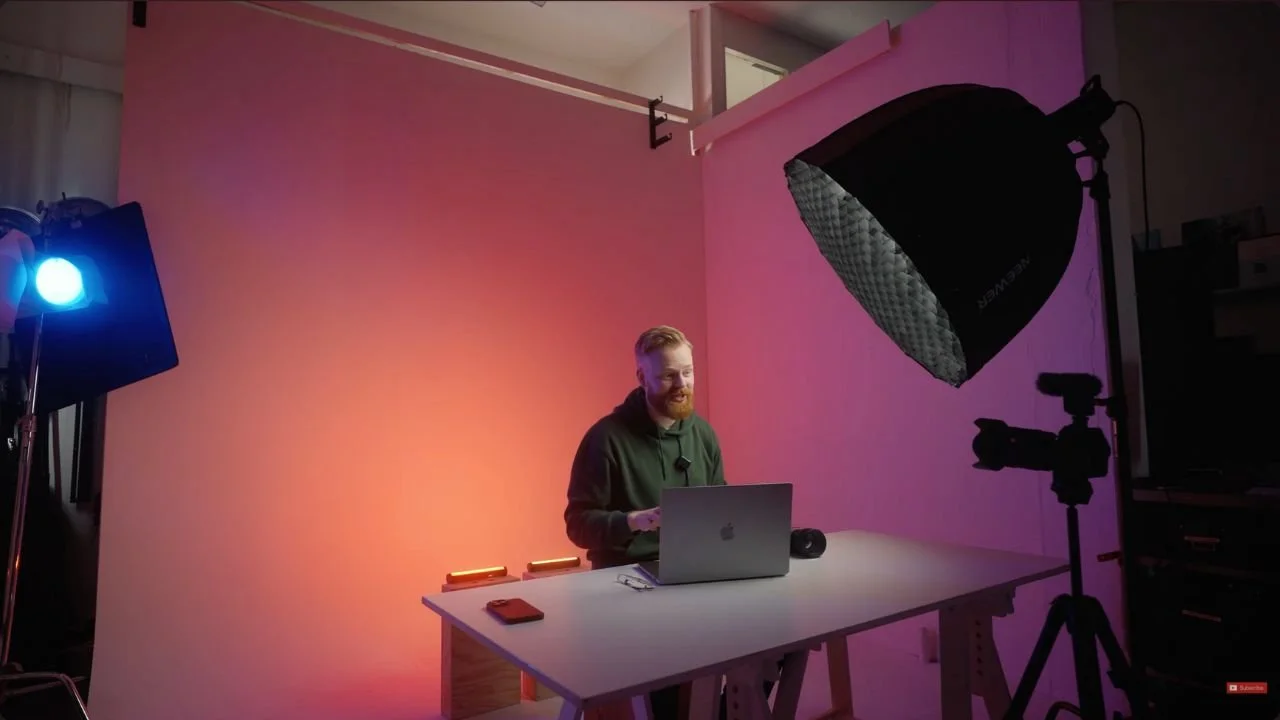
The downside of the 45-degree angle is that it can accentuate things you don't like about your skin complexion. That's why I personally don't like that shot for my video podcast.
But you are more than welcome to try it if you have a perfect face.
So the picture below is what the shot looks like with just the key light, but I think we can spice things up a little bit more!
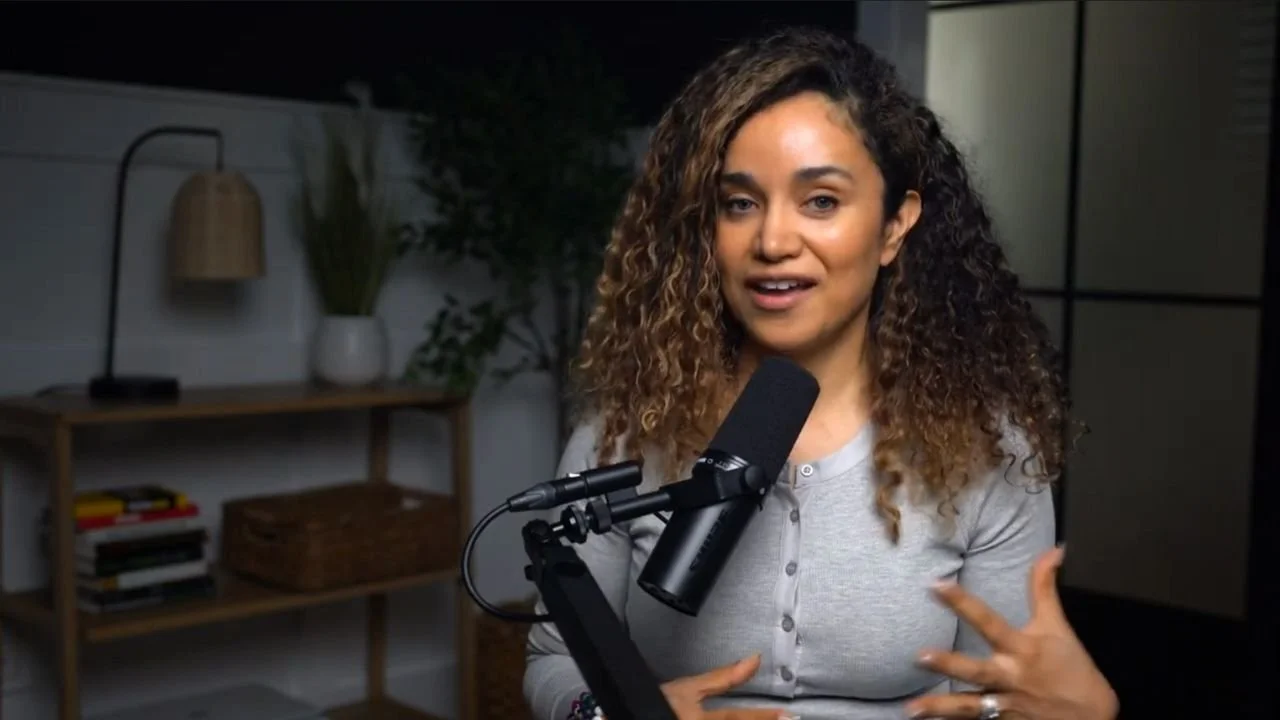
The look that I'm going for is more cozy and inviting.
The look pictured above with only a key light doesn't look cozy and inviting so that's why I bought an accent lamp for the background.
However, I’m using a special light bulb, the Aputure Accent B7C Smart Led Light Bulb.
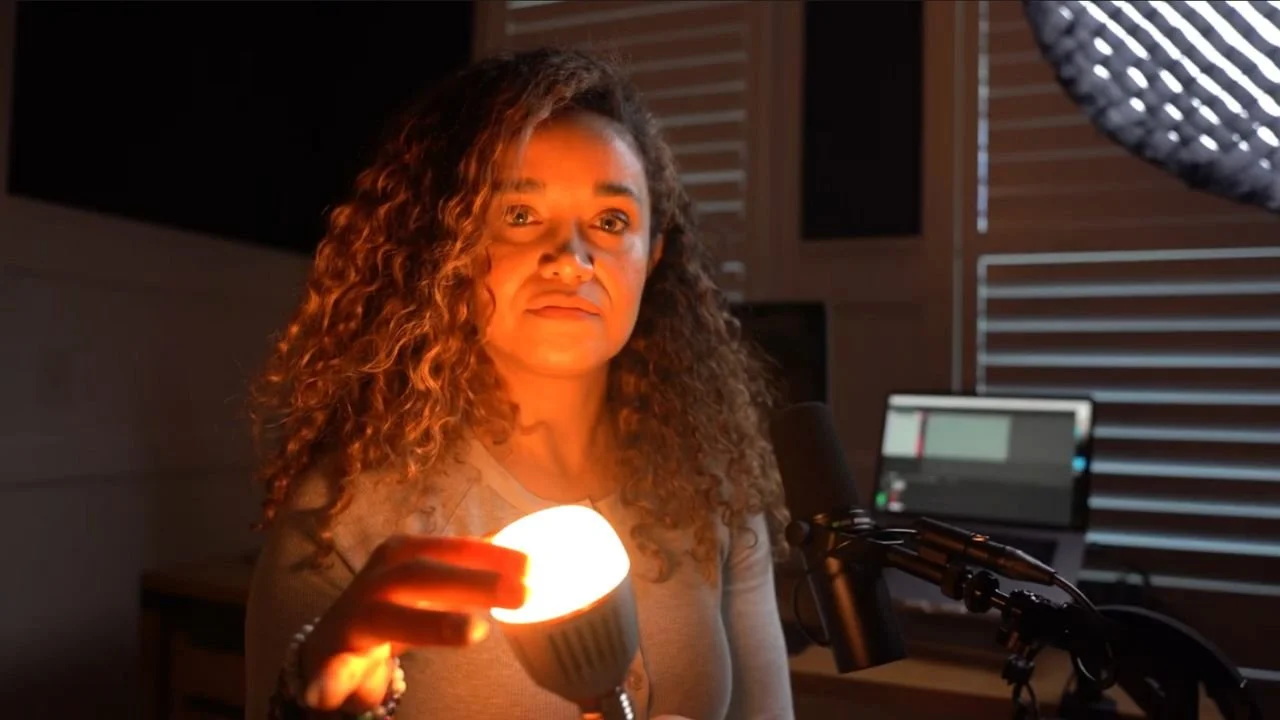
You may be wondering why I'm not using a regular light bulb. If you get a light bulb from the hardware store, it's just one temperature so you can't adjust it. I'm going to show you why that's important in a minute.
Another thing I want to do in the background is bring my tree to life. I’ll do that by blasting a lot of light on it to help it stand out a little bit more.
To accomplish that, I’m using the Aputure MT Pro Full-Color Mini LED Tube Light. That light may be mini, but it's pretty powerful and you're going to see that in a minute.
All of the lights I’m using here in my studio are Aputure lights, including my Amaran key light because Amaran is part of the Aputure brand.
The cool thing about Aputure is that you can download an app called Sidus Link to link all your lights to your phone.
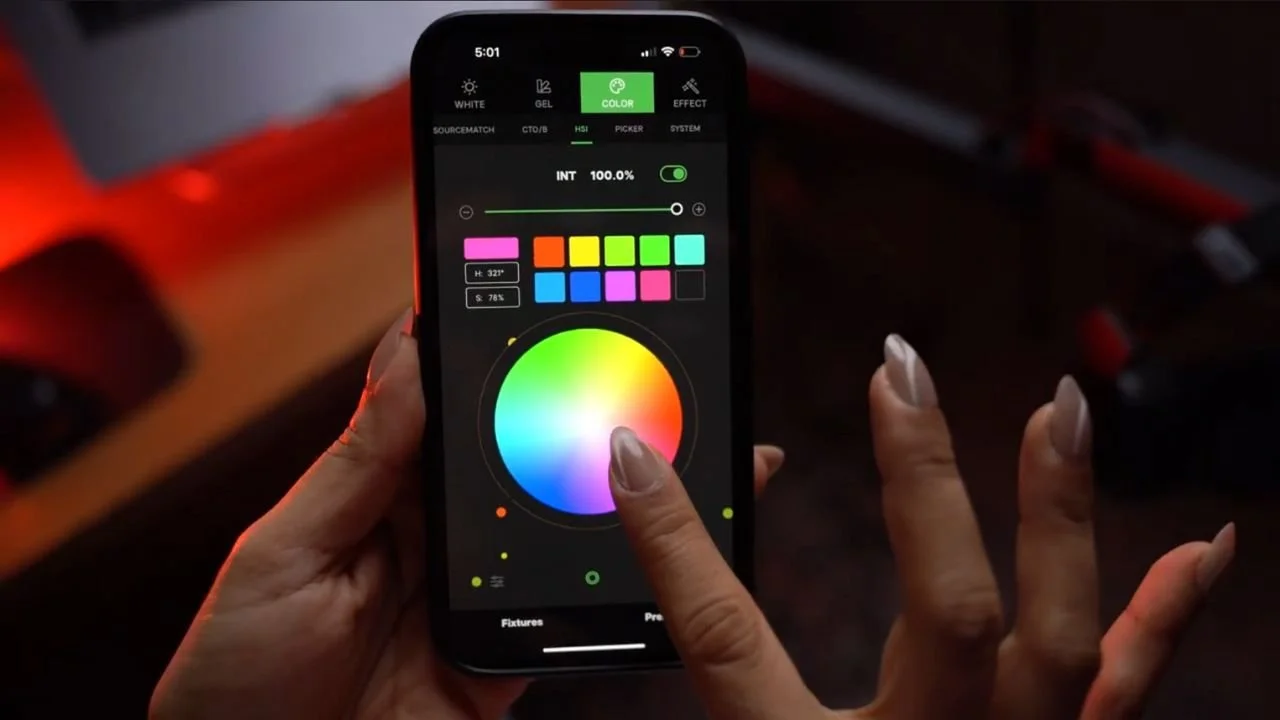
You can use the Sidus Link Bluetooth App Control to turn your ambient lights on and off and adjust the color temperature. How cool is this?
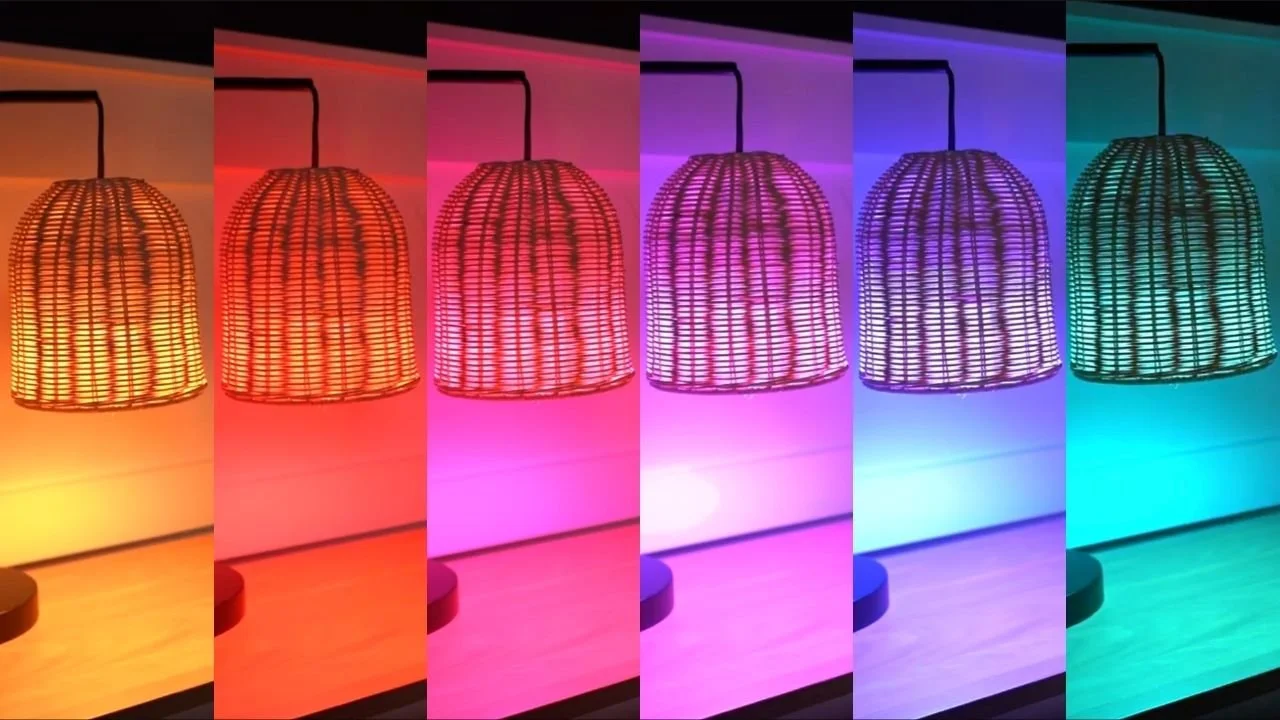
So, let's turn on the accent and highlight lights to see how the background looks.
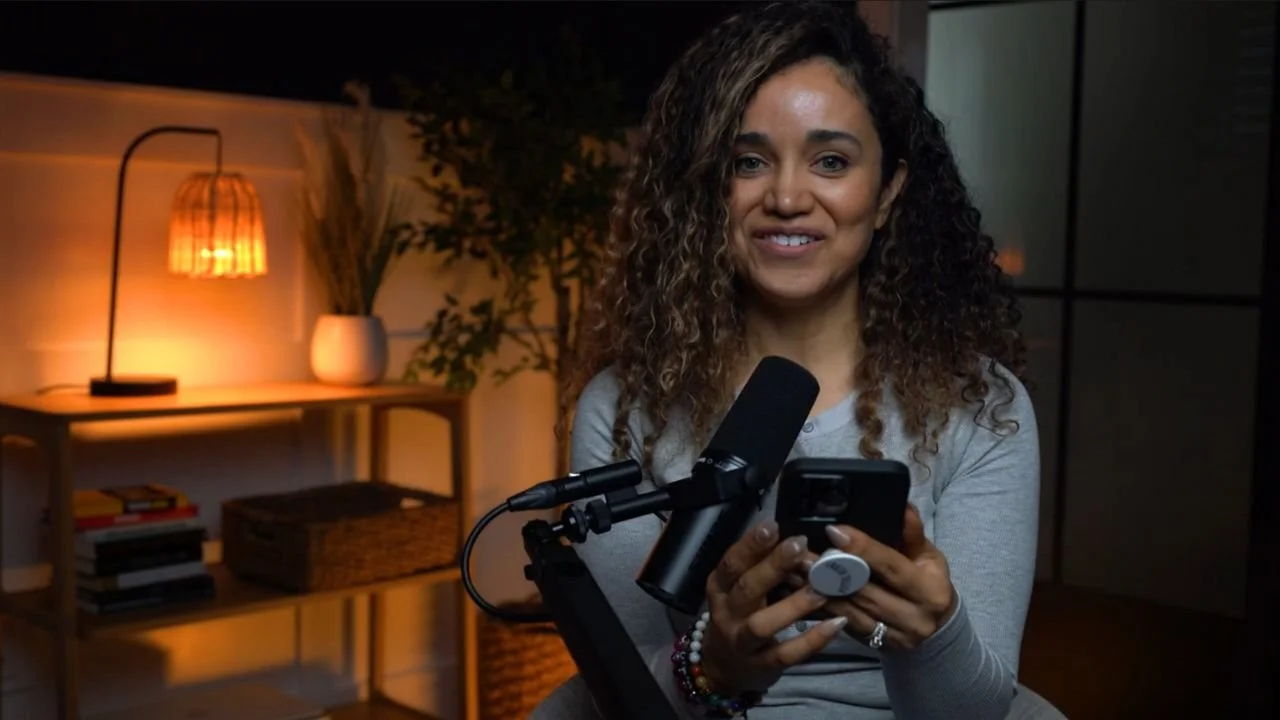
How cool! We also have Aputure lights in our main studio upstairs. Aputure is a really good company that makes good products that stand the test of time.
If you're thinking about getting a good light for your studio or recreating the cinematic look I created here in my home office, Apurture or Amaran, their product line for content creators, is very good quality and more affordable so it's a good way to go.
I am very happy with the way that things are looking so far, but I think that there's something missing.
As you can see in the picture above, I have a glass door for my office. It's a double barn door with smoky glass, so I decided to get very creative and blast light from outside my office to shine some color on that glass.
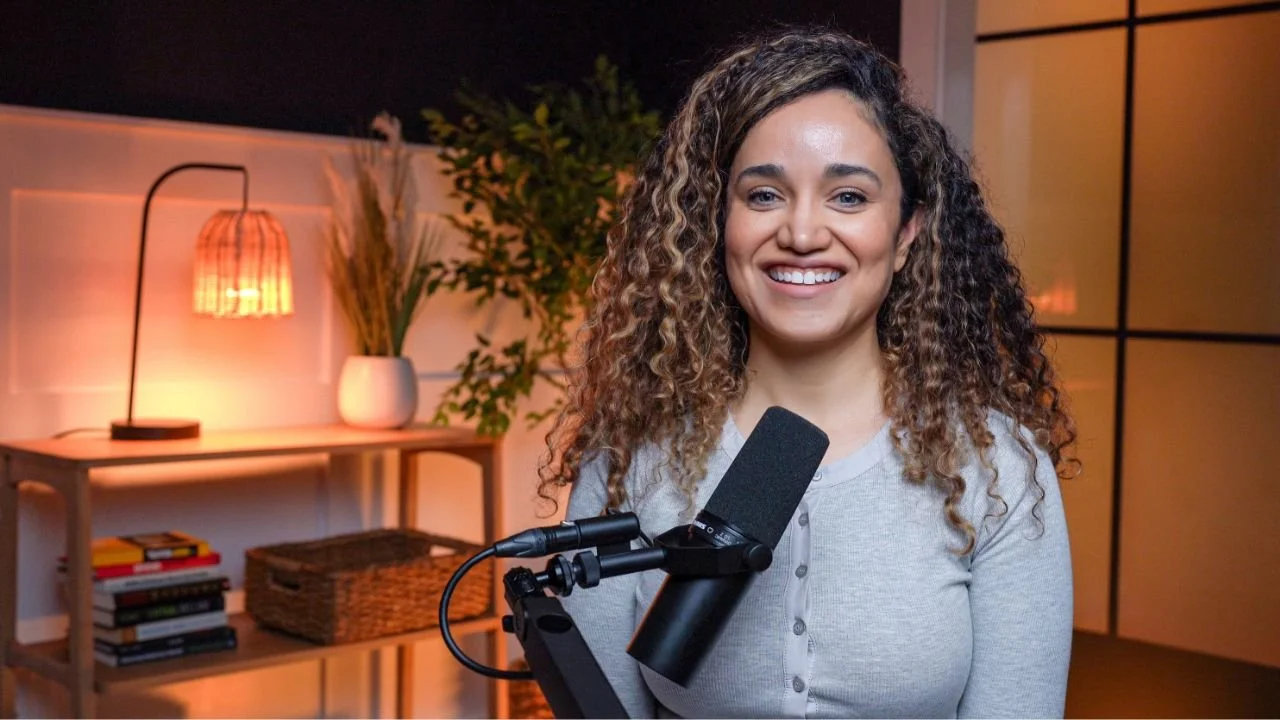
That bonus ambient light on the barn doors completes the look that I was going for. I achieved a very intimate and cozy look while effectively illuminating my face for a warm and enjoyable viewing experience.
EASY CINEMATIC LIGHTING SETUP FOR VIDEO PODCASTING
Creating a cinematic look for your video podcast doesn’t have to be complicated or expensive. With just three lights and a bit of creativity, you can transform any space into a cozy, professional studio that makes your audience feel like they’re sitting right there with you.
Whether you’re podcasting solo or doing remote guest interviews, this setup adds a personal, intimate touch that will help foster a deeper connection with your viewers.
This lighting setup is the one I’m now using for Content Jefe, and I can already feel the difference in how it draws my audience in.
I hope this guide inspires you to experiment with your own space and lighting to create something truly special. Remember, the key is to make your environment reflect the mood you want to set for your podcast.
Now it’s your turn to give your podcast that cinematic glow! If you try it out, I’d love to see your setup, tag me on social, and let’s keep creating amazing content together.
PIN THIS POST TO READ LATER
MORE BLOG POSTS TO GIVE YOUR VIDEO PODCAST A PROFESSIONAL EDGE
Build My Video Podcast Studio and Multipurpose Content Office with Me
Best Sony Camera for Video Podcasting: How to Create a Cinematic Look
2-Person Video Podcast and Live Stream Setup - Ultimate Guide for BEGINNERS
Multicam 2-Person Video Podcast and Live Streaming Setup Gear Guide
3 Smart and Simple Hacks to Create Cinematic B-roll and Behind-the-Scenes Videos
RECOMMENDED YOUTUBE VIDEOS
How I transformed my small home office into a compact podcast studio and multifunctional content creation space. 👇
This Sony camera and lens combo will help you achieve that high-quality, cinematic, blurred background look that makes you look like a true podcast star. 👇
FREE PODCASTING RESOURCES