Studio builds
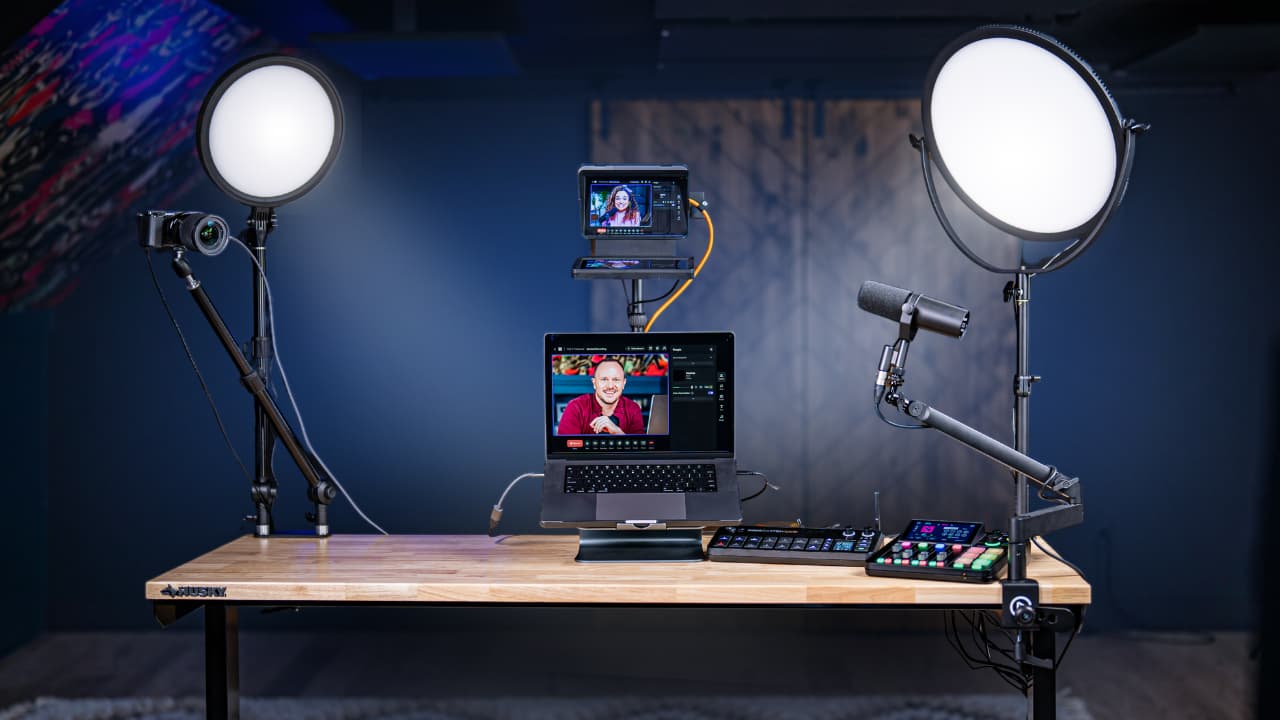
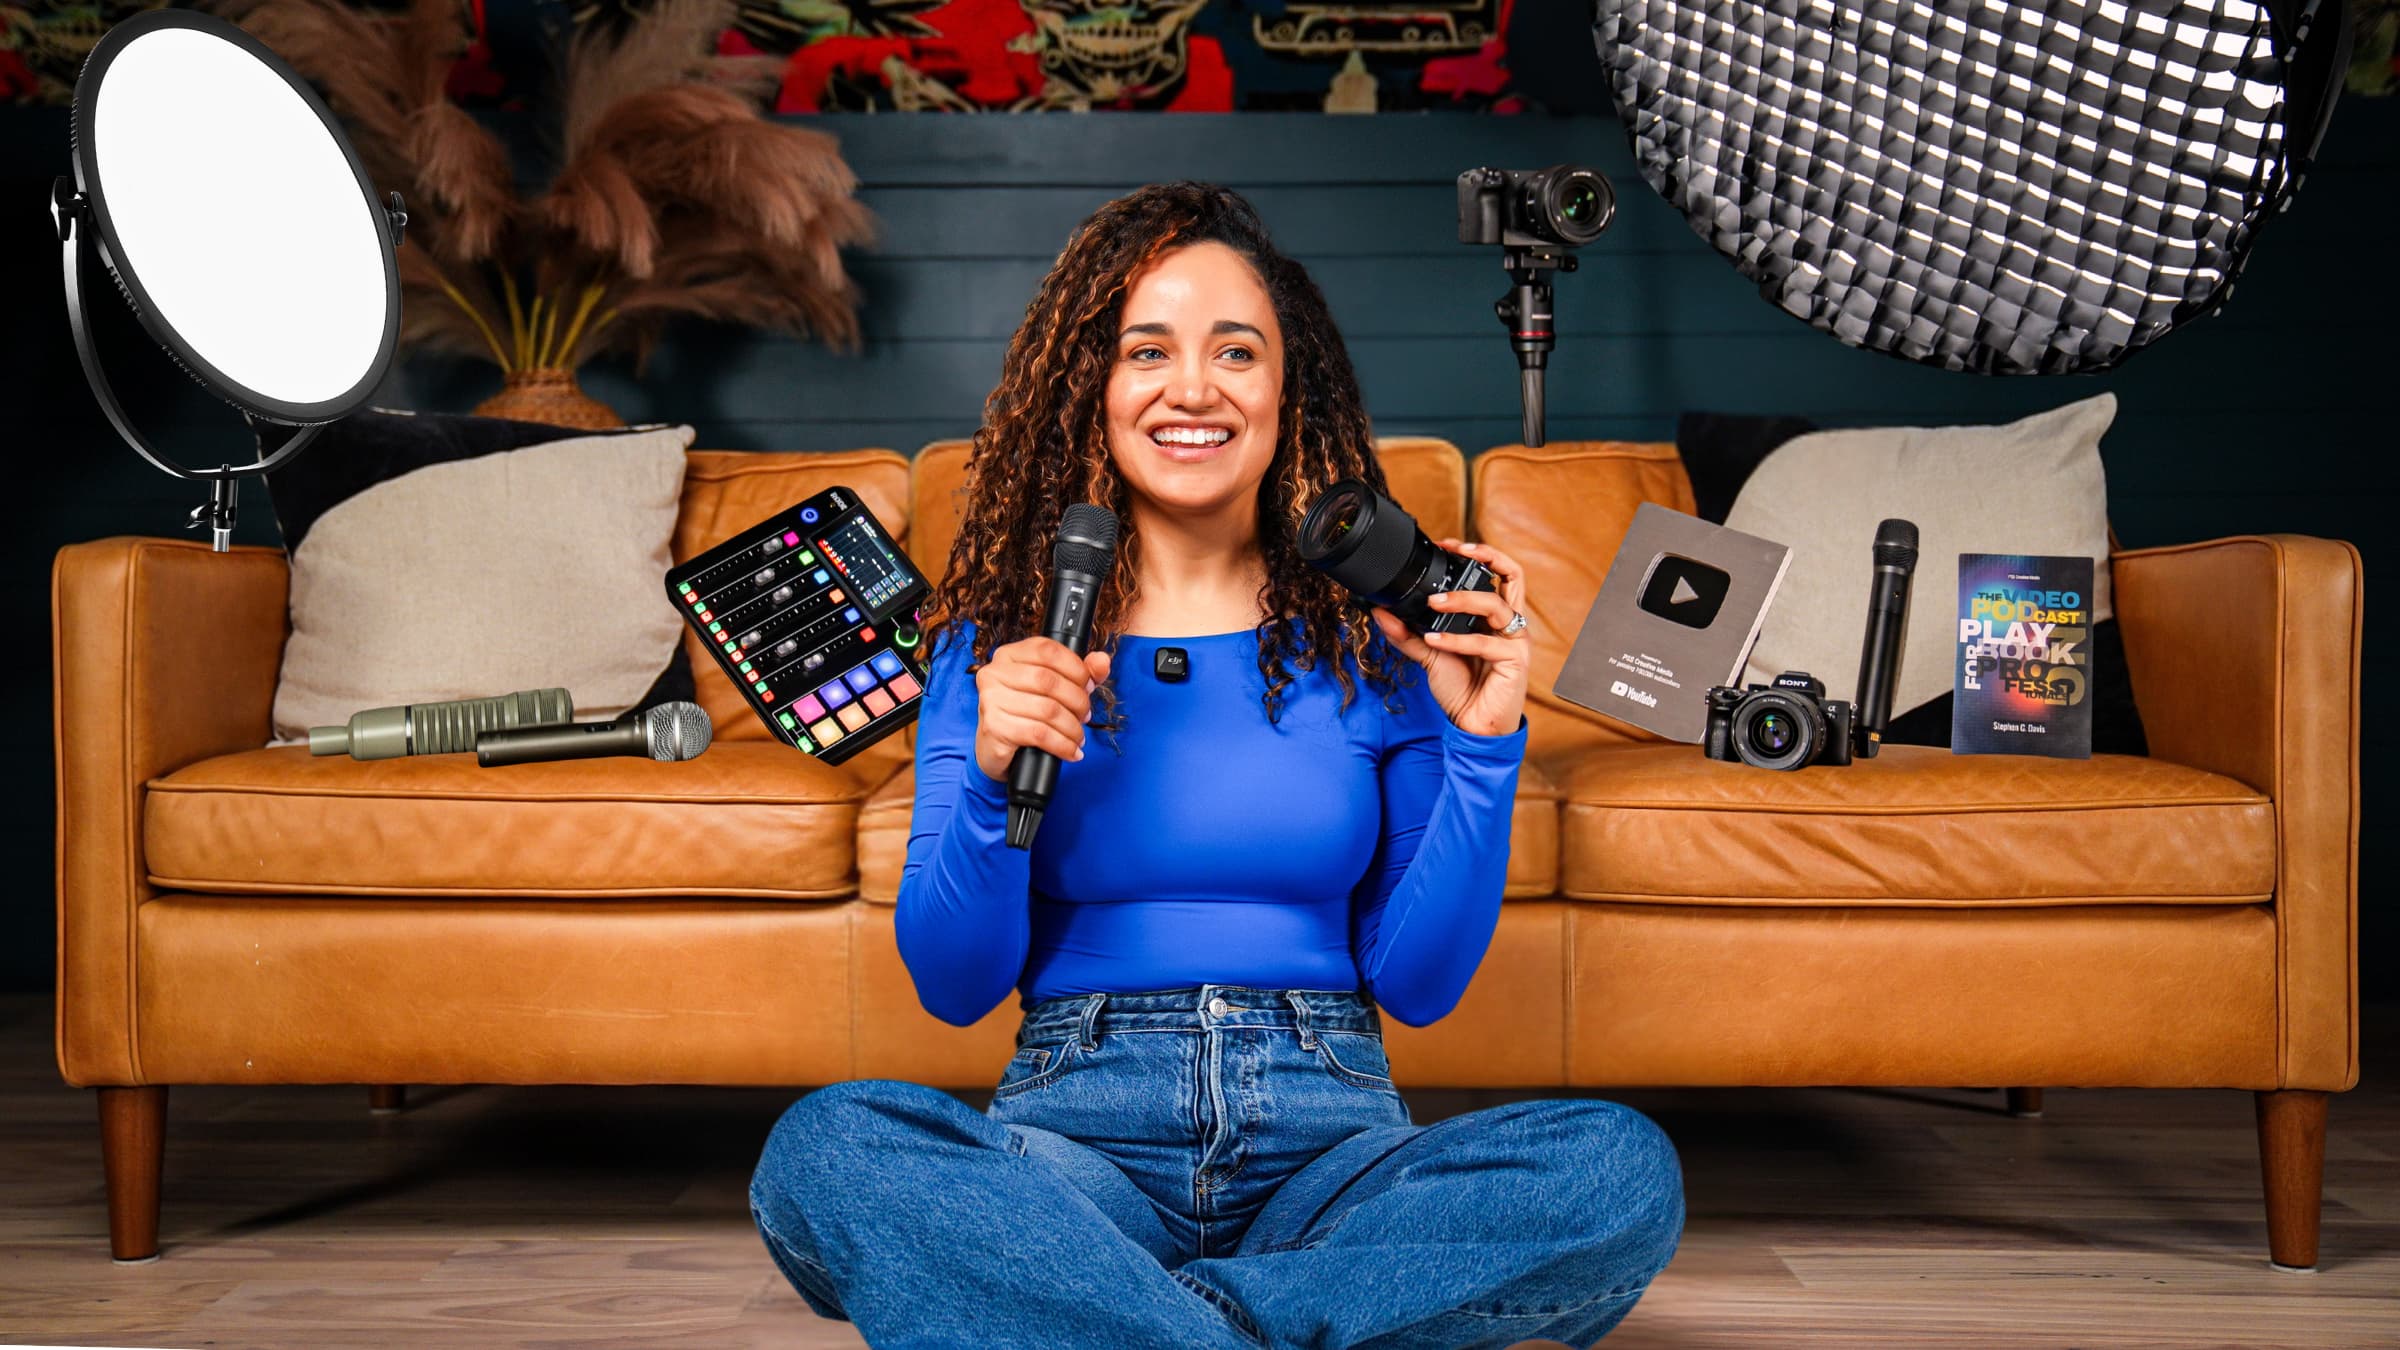
Transform your home office into a multifunctional content creation studio equipped for video podcasts, YouTube videos, social media content, and client meetings.
Some links in this story are affiliate links. If you buy through them, we may earn a commission at no extra cost to you.
Write down how the room needs to work off camera as well as on camera.
Plan the furniture and walking space before adding stands and lights.
Keep recording positions easy to restore so the office stays useful between shoots.
You have a room in your house or office that you want to condition into your podcast studio where you can record video podcasts, audio-only podcasts, and live streams, and look professional when you meet with clients.
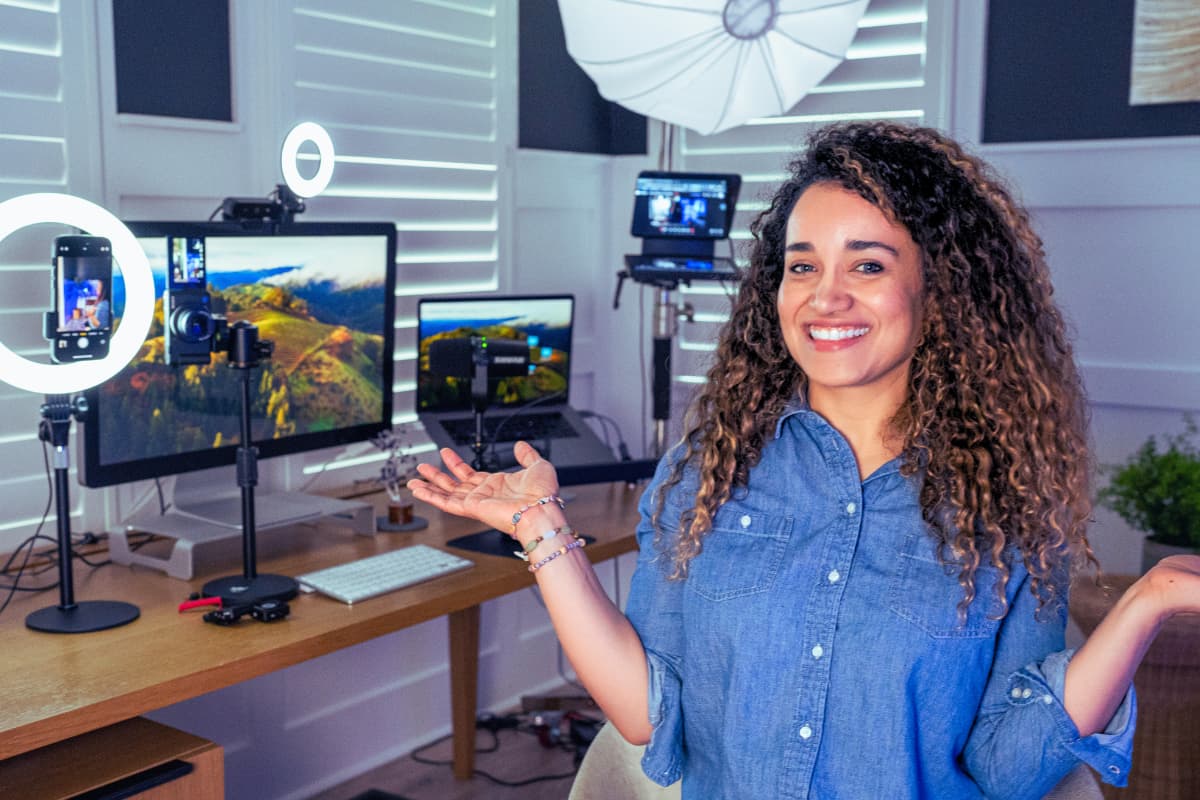
So buckle up because I’m going to have some fun today and show you how I transformed my small home office into a compact podcast studio and multifunctional content creation space where I’ll be recording my video podcast Content Jefe, YouTube videos, and short social content while still maintaining the functionality of my office.
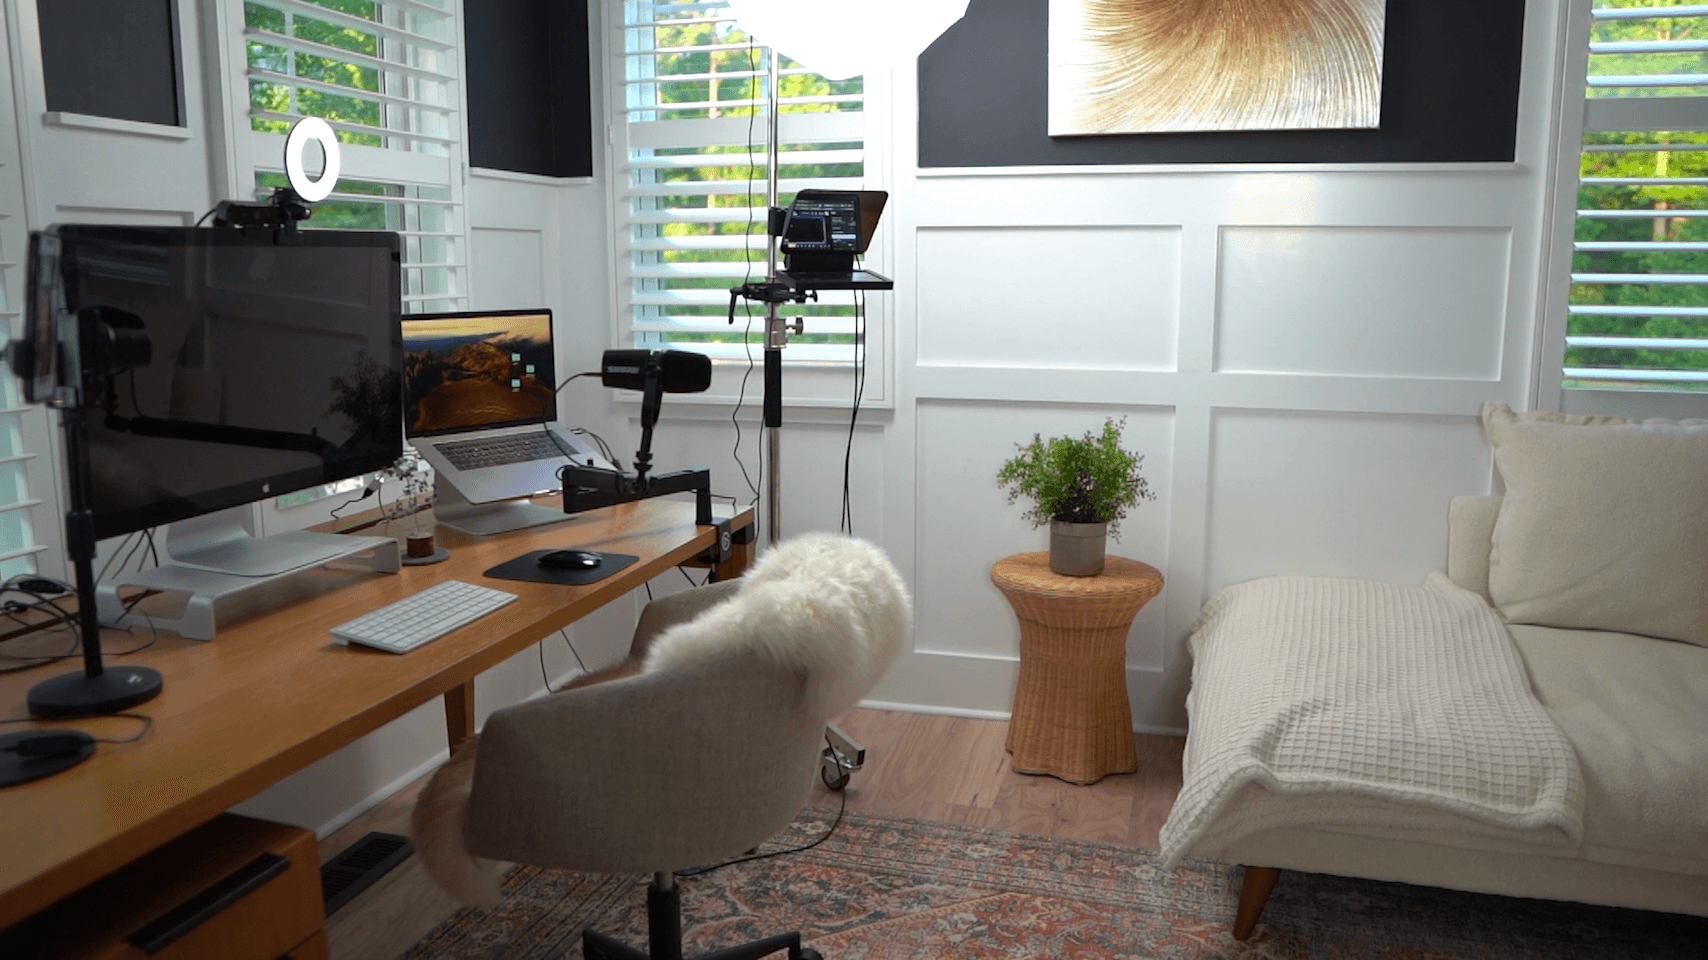
I hope to get you inspired and give you a few ideas so you can start making some amazing content right there in your office.
But first, welcome to PSS Creative Media. I’m Veronica, the content marketing director and instructor in our programs.
My job is to help you make a podcast that attracts the right audience so you can hit your personal or business goals.
And if you’re a business owner, this is a great time to:
start a podcast to educate prospects about what you do
become a trusted authority in your industry
connect with your customers, clients, students
impact more people with your story
Are you ready? Let's get to it and unpack.
Let’s begin by showing you my thought process and the steps I implement when I take on a project like this for my clients.
Whether I'm working with a client remotely or in person, the first thing I do when I'm designing their podcast and content studio is to set up a meeting.
Will they also be using their room for other purposes?
What type of content do they want to record?
How frequently will they be doing each activity?
Will they be recording solo or with other people?
Will the space be used for their clients to record content? ➡ Like in the case of marketing agencies, where they need to have a room ready for clients to come and record audio and video content
So I am hiring myself. I'll be my own client for this project.
My main goal for my office is to record:
This is also a space I want to use to meet with clients, so I want it to reflect a LOT of my personality. 💃🏼
I already have some nice pieces of furniture and some decor that go with the vibe I want for my studio: chic, relaxed, and a little bohemian.
I want people to feel like they're right there in the room with me.
Stephen helped me install some cool barn doors for more privacy because this room used to be an open space and I don't want to be interrupted while I’m in the middle of recording my content.
The second thing I do is create a floor plan for their studio so I can visualize the space and decide what needs to go in it and where.
Does it have existing furniture?
Or if the space is empty, what kind of furniture do they need?
What kind of equipment needs to be added?
So I created a scaled floor plan for my office and used it to plan out the space.
1. EXISTING OFFICE FURNITURE & DECOR:
First, I added images of all of the pieces of furniture I currently have in my office:
desk & filing cabinet
office chair
day bed
bookshelf
a round side table
greenery
cute little lamp
rug
2. CONTENT CREATION GEAR, EQUIPMENT, AND COMPUTER:
Next, I added images of all the new content creation gear I planned to buy so I could get an idea of how everything would look and where it would fit into the space before I purchased the gear.
My clients love it when I create a blueprint for their podcast studios because:
it gives them an idea of how the space will look when it's done
they’ll know the type of equipment they'll be using
and it gives them the flexibility to move things around and change things before they make any significant investment
Check out my final floor plan below.
Fast-forwarding to the future…
Now that the floor plan is done and the new gear has arrived, let’s unpack it and set it up in my studio office.
1. The Webcam, Logitech Brio 4K Webcam
I was skeptical about this camera, but the webcam technology has improved dramatically in the last few years.
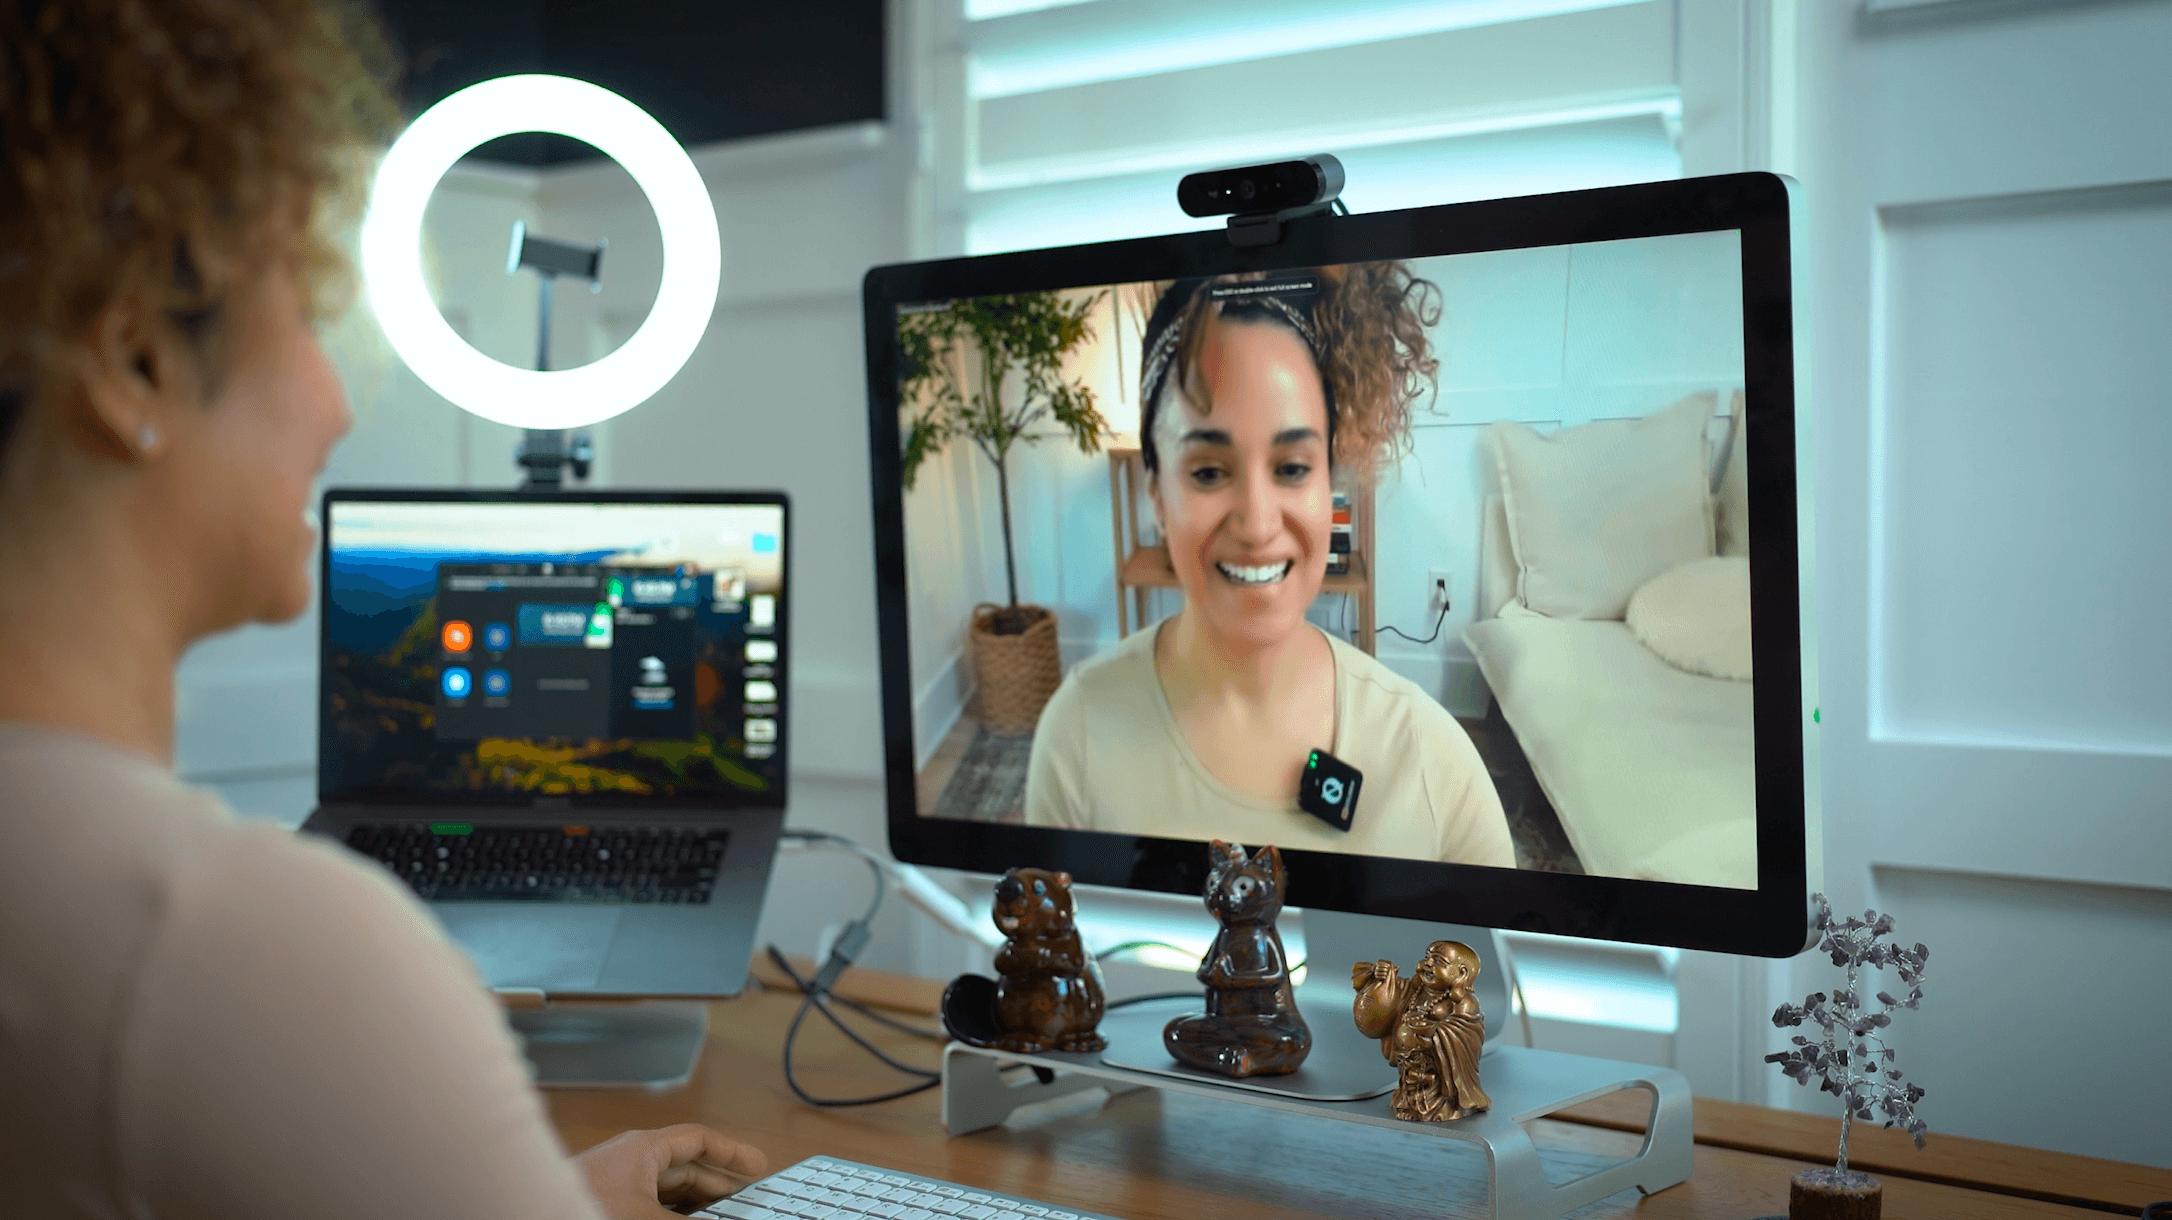
The benefits of the Logitech Brio 4K Webcam:
you can get a clear, detailed, not pixelated, quality image
it has a wide field of view, so you can see a lot more of the room behind you to make your office look way bigger than it is
It’s very easy to use, you just have to plug it into your computer and it's ready to go
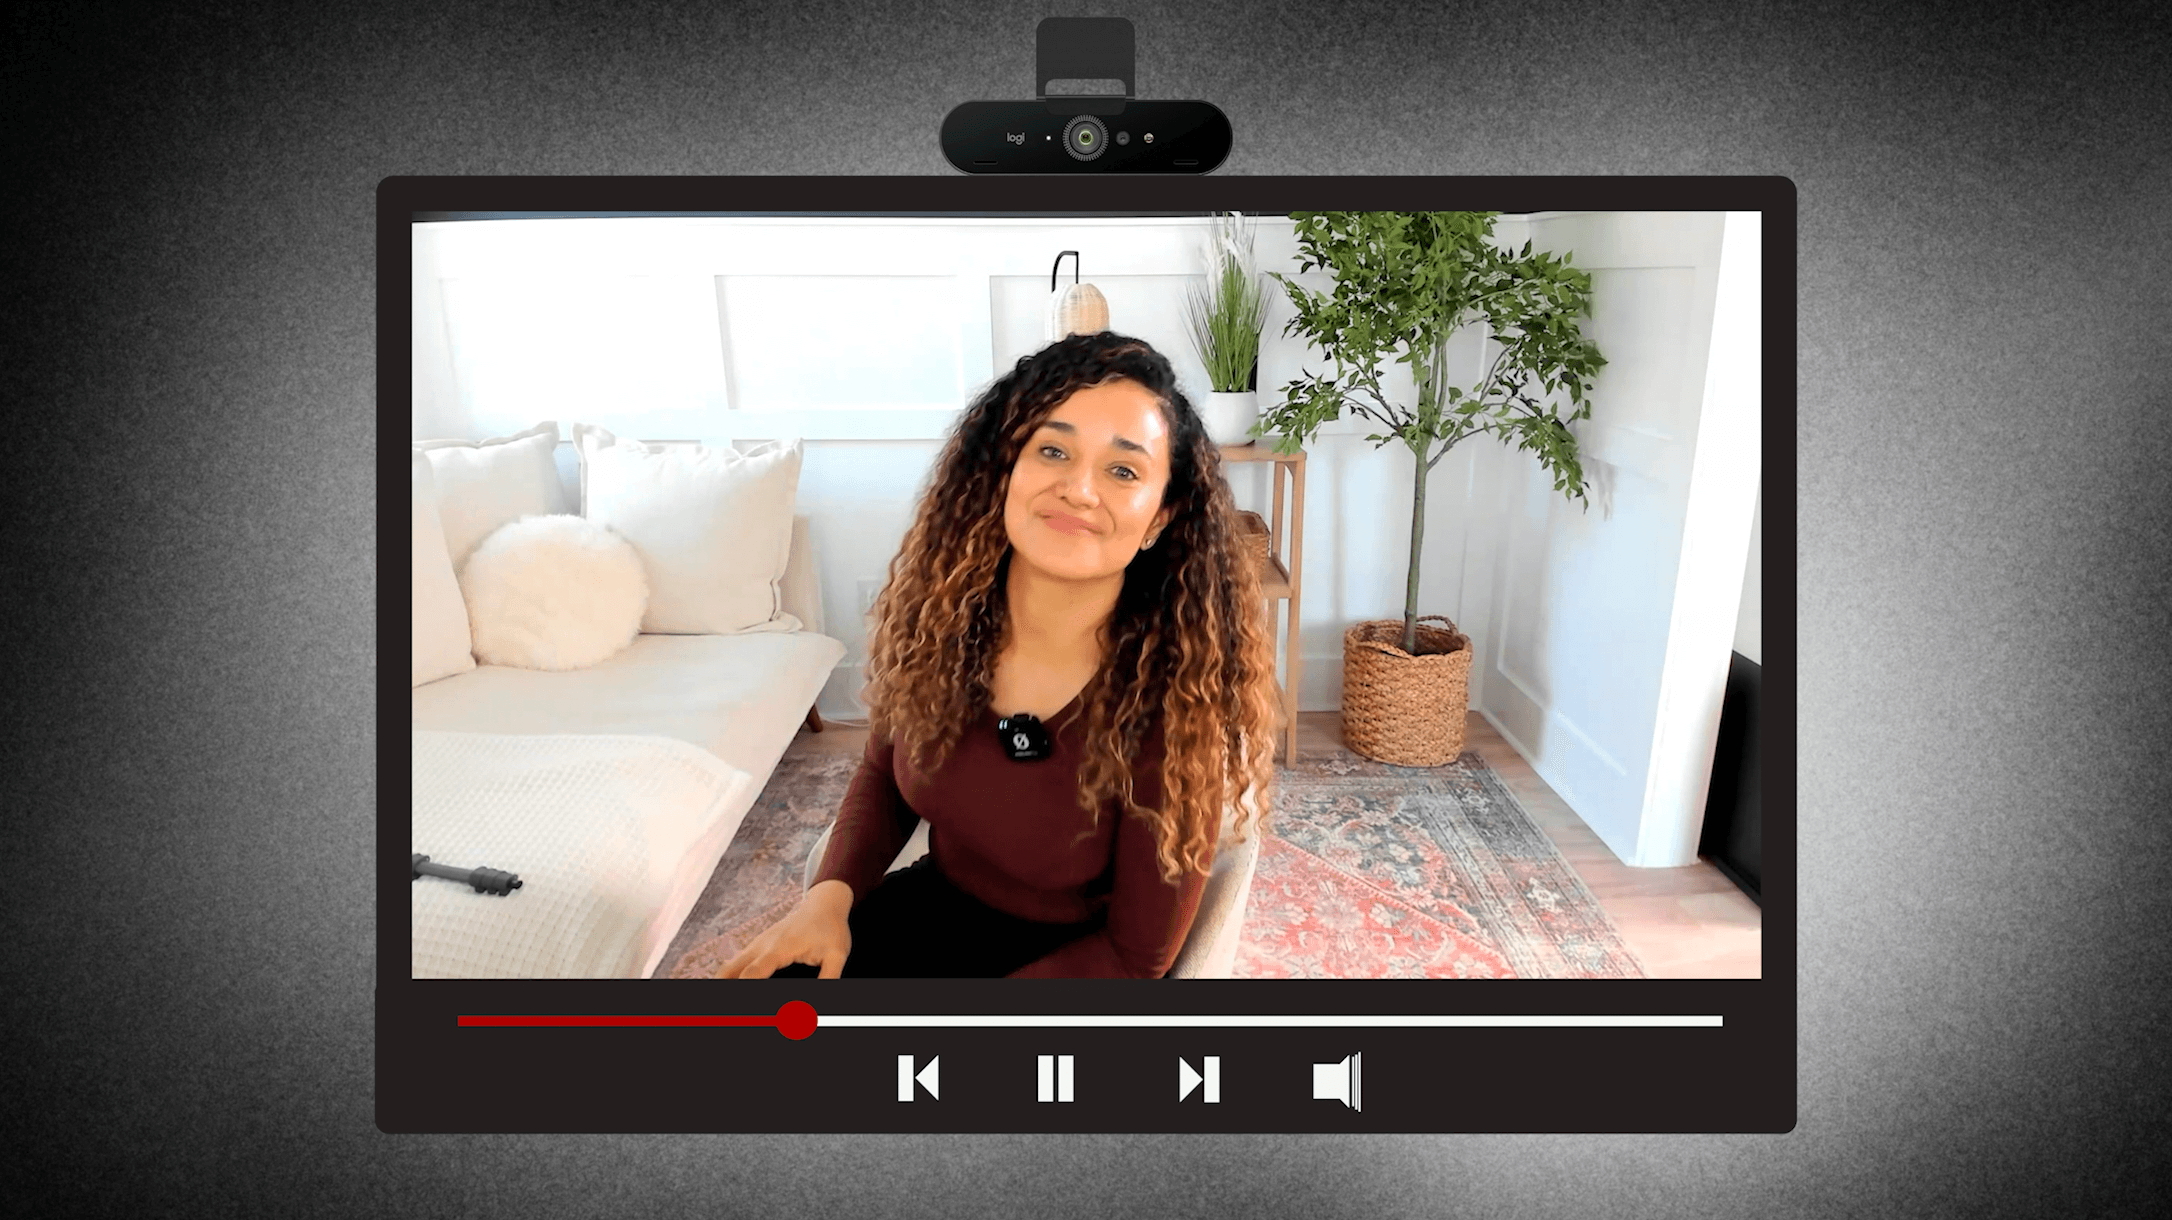
2. The Microphone, Shure MV7
I love the MV7 because it is a great quality microphone and it's easy to use. It’s a USB microphone so you just plug it into your computer and you're good to go!
Additionally, I plan to use this easy clip-on RØDE Wireless ME Microphone to create social media video content.
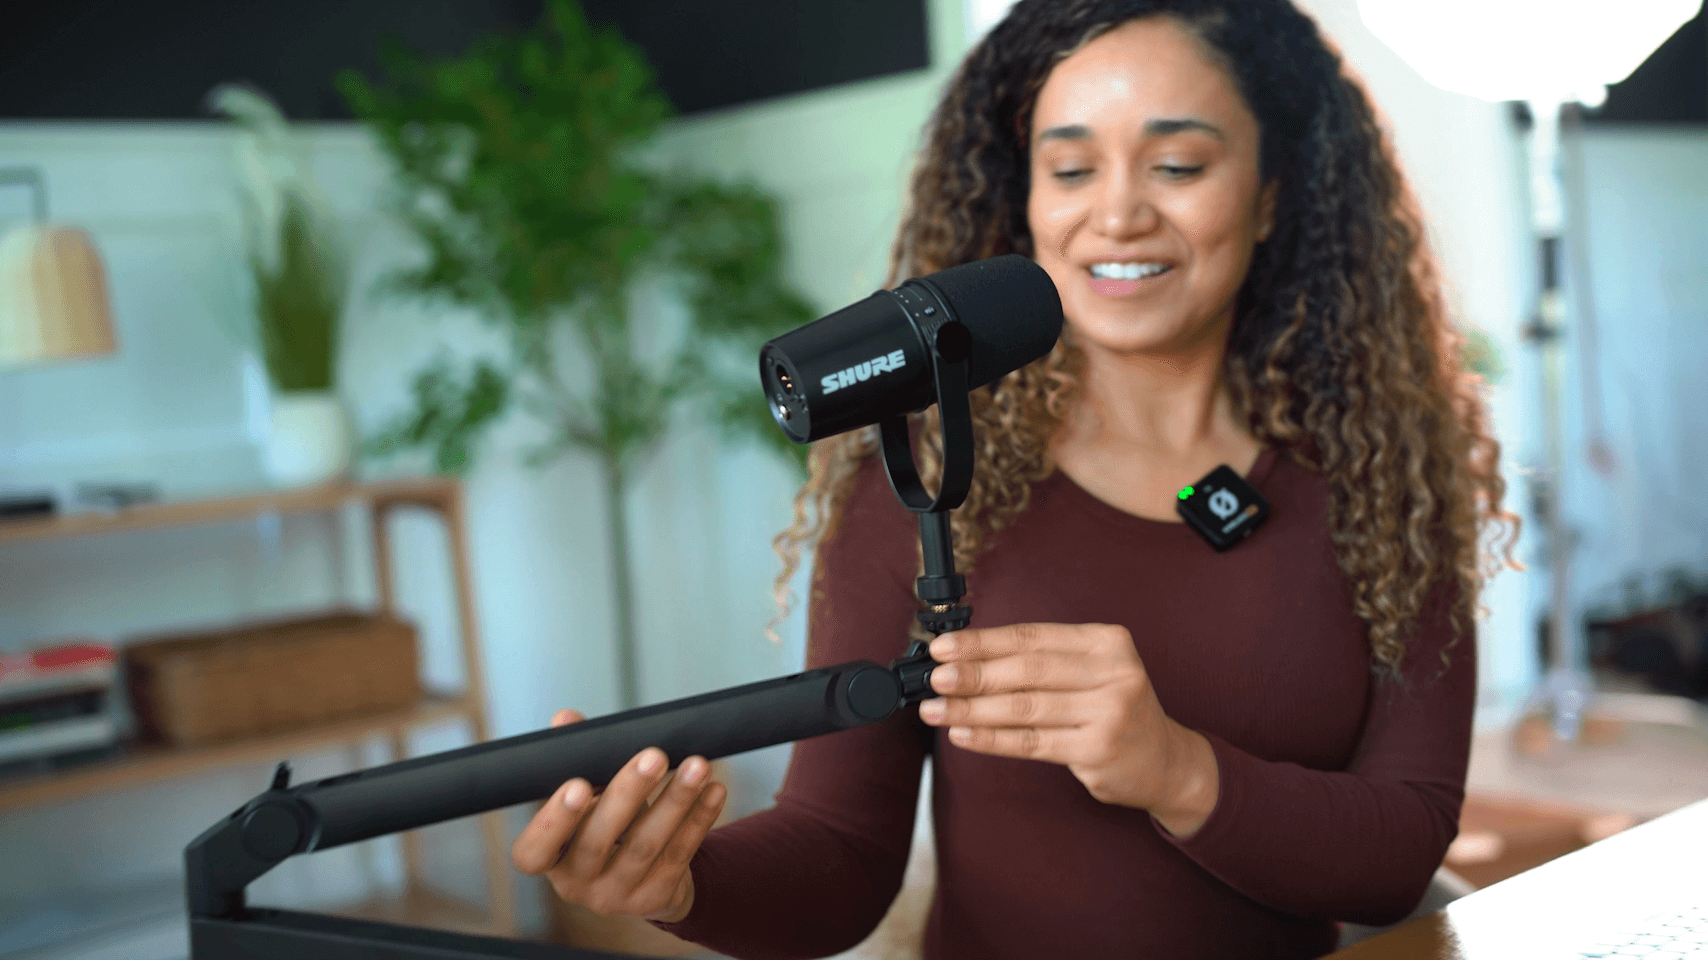
3. The Microphone Desk Clamp Stand, Elgato Low Profile Arm
I added a microphone desk clamp stand because I didn't want to hold the microphone. It's not that I'm lazy, but, you know, I like to use my hands when I talk.
I have tried different microphone desk clamp stands and the Elgato Low Profile Arm is my favorite.
The best part is that it doesn't get in the way of the shot because of its low profile.
I can freely move my hands when I'm talking, and I can move it around and adjust it.
I love this microphone stand.
The Cherry 🍒 on Top: Ooh, it looks sexy. This is a good-looking stand.
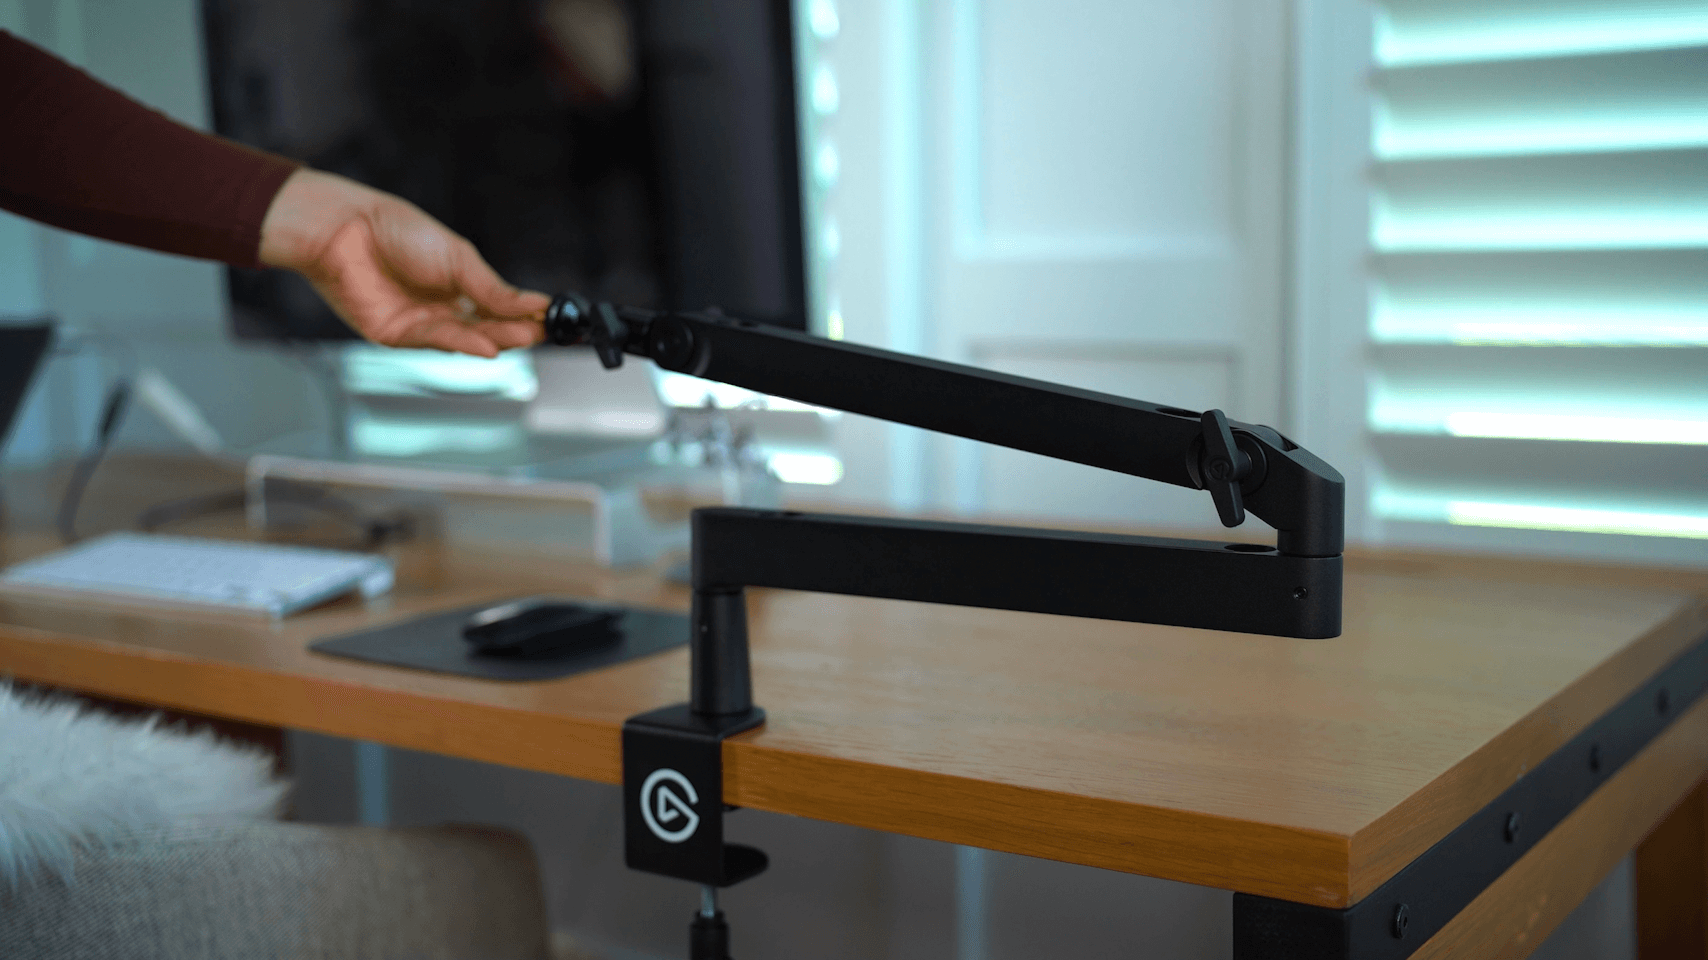
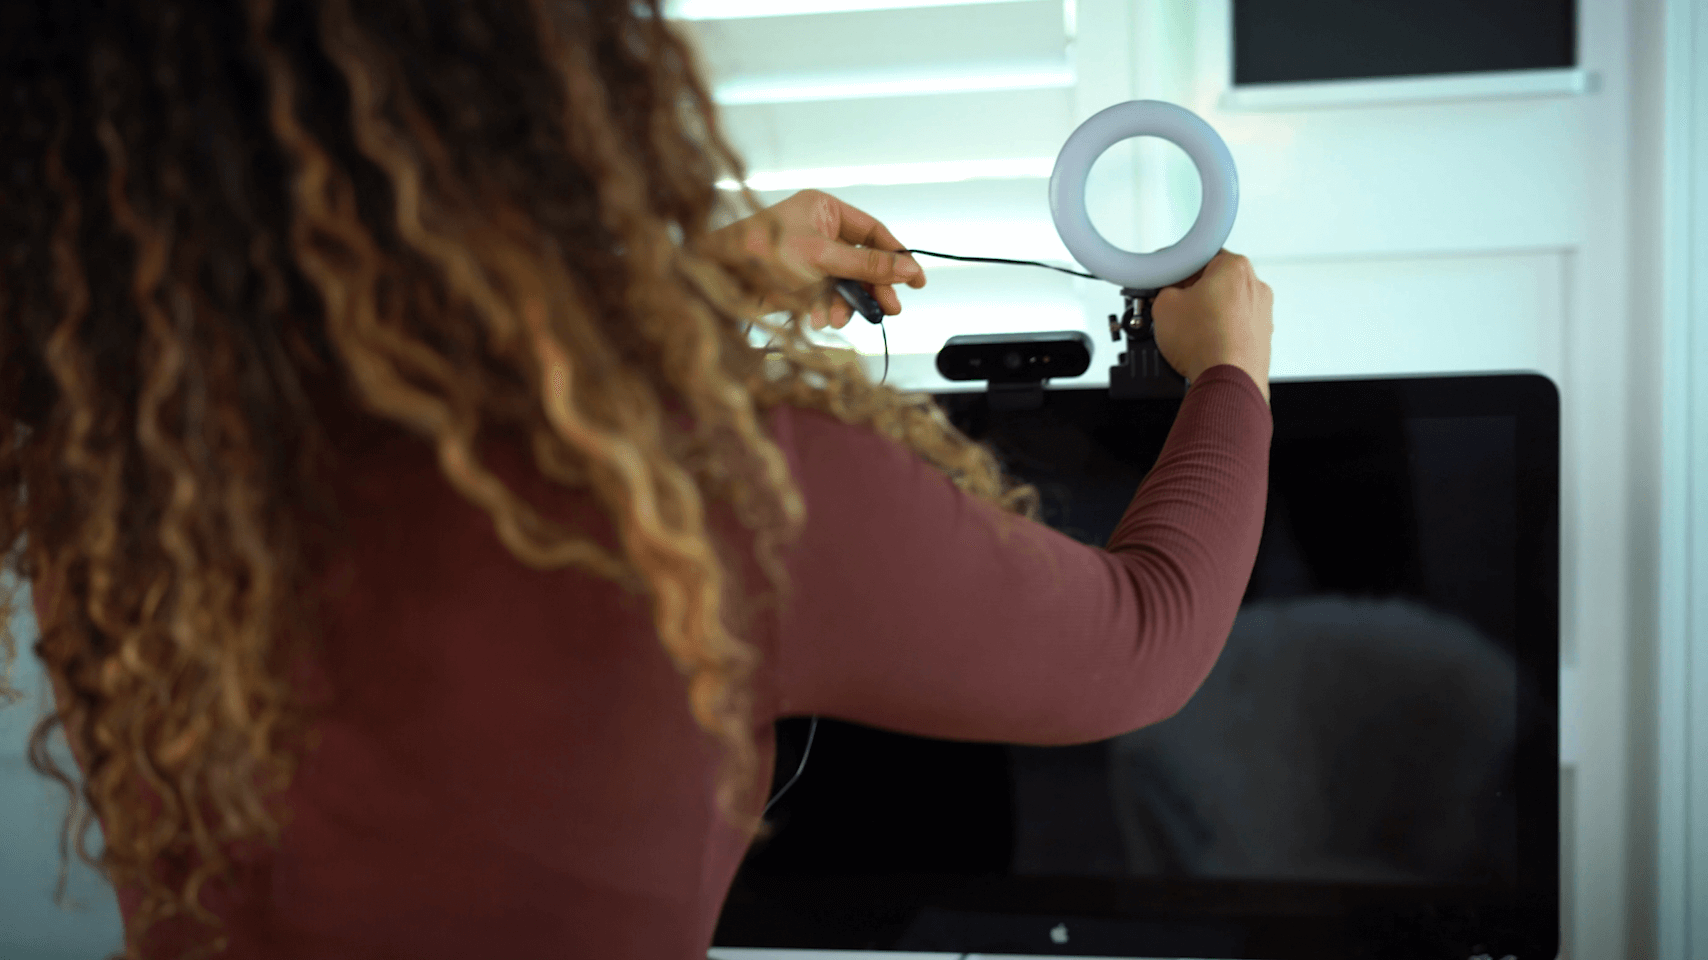
4. The Monitor Ring Light, Selfila Clip-On Ring Light
Even though I will have a lot of natural light coming through the windows during the day, I clamped this little ring light to my monitor to have consistent light when I'm recording.
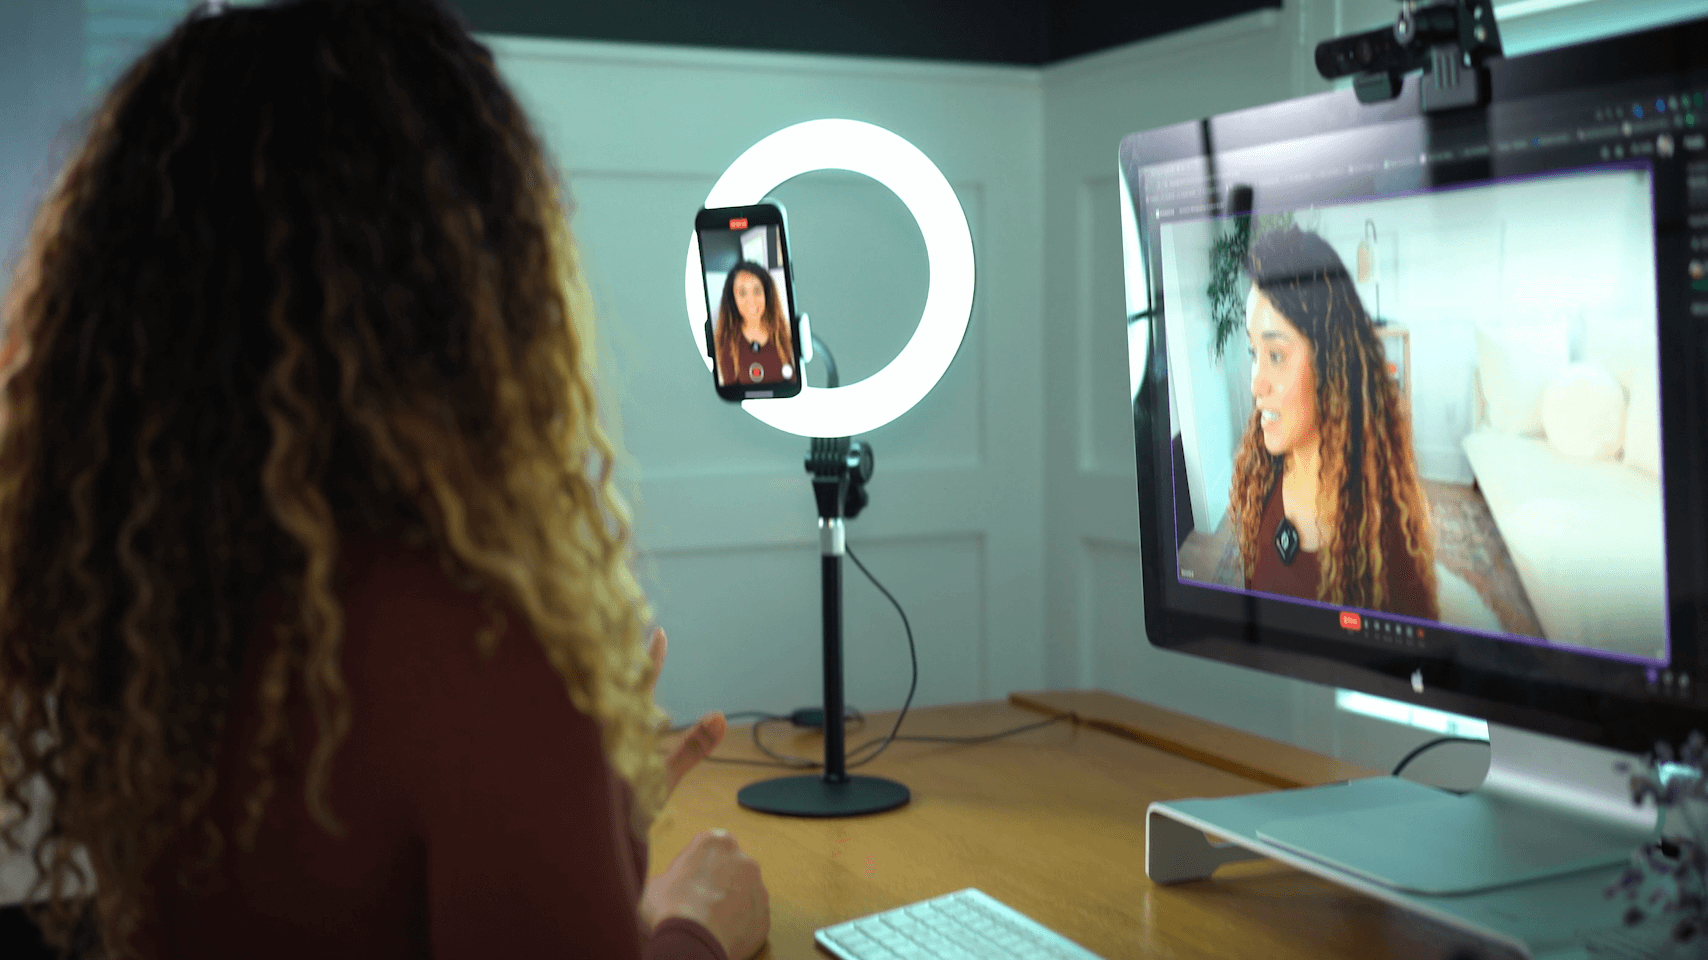
5. The Desktop Ring Light, Yarrashop Desktop Ring Light and Phone Holder
Sitting to the left of my computer, I have another ring light with an attachment for my iPhone. I use it to record vertical videos for social media, time-lapse videos, and behind-the-scenes B-roll content, like me working at my desk.
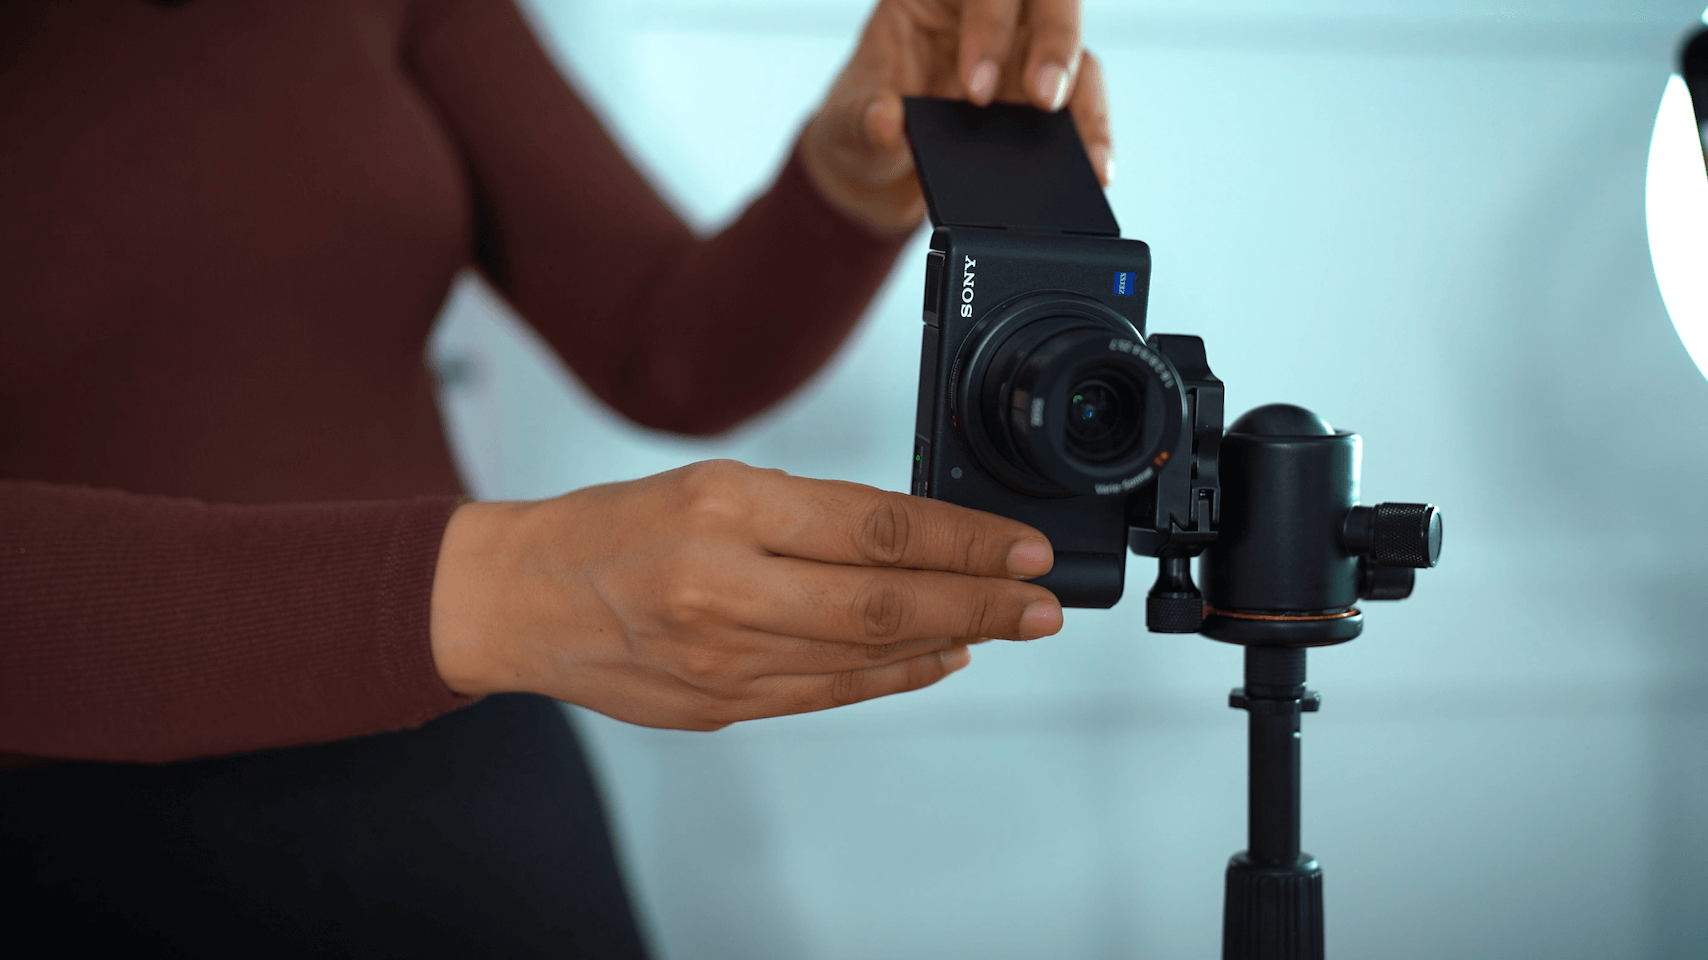
6. The Camera, Sony ZV-1 Digital Camera
7. The Desktop Camera Stand, InnoGear Desktop Stand
8. The Tripod Ball Head, NEEWER Tripod Ball Head for Camera
On my desk, I also have the Sony ZV-1 camera, which I will be using to record better-quality vertical videos for social media in addition to the videos I record with my iPhone.
I LOVE the convenience of having this equipment in my at-home studio set up and ready to go at all times.
Sometimes I'm working on a project and I have an idea or a thought I want to record in the moment. I used to have to stop my workflow and go get all the equipment and lighting set up, this was a big pain in my booty. But now it’s all set up here and ready for me to record anytime!
I’m going to record my podcast differently meaning using higher-quality equipment.
The equipment I mentioned above just doesn't cut it for recording professional shots.
So to record my video podcast and YouTube videos, the video gear needs to be pro-level:
the camera
the lens
the lighting
To achieve high-quality shots, I'll be using my video podcast studio on wheels.
I saw this in one of Omar El-Takrori’s videos, and I thought it was a genius idea because you can wheel the entire thing from one corner of the room to the other until you find the right shot for you.
So, what is this contraption? Well, let's look at it.
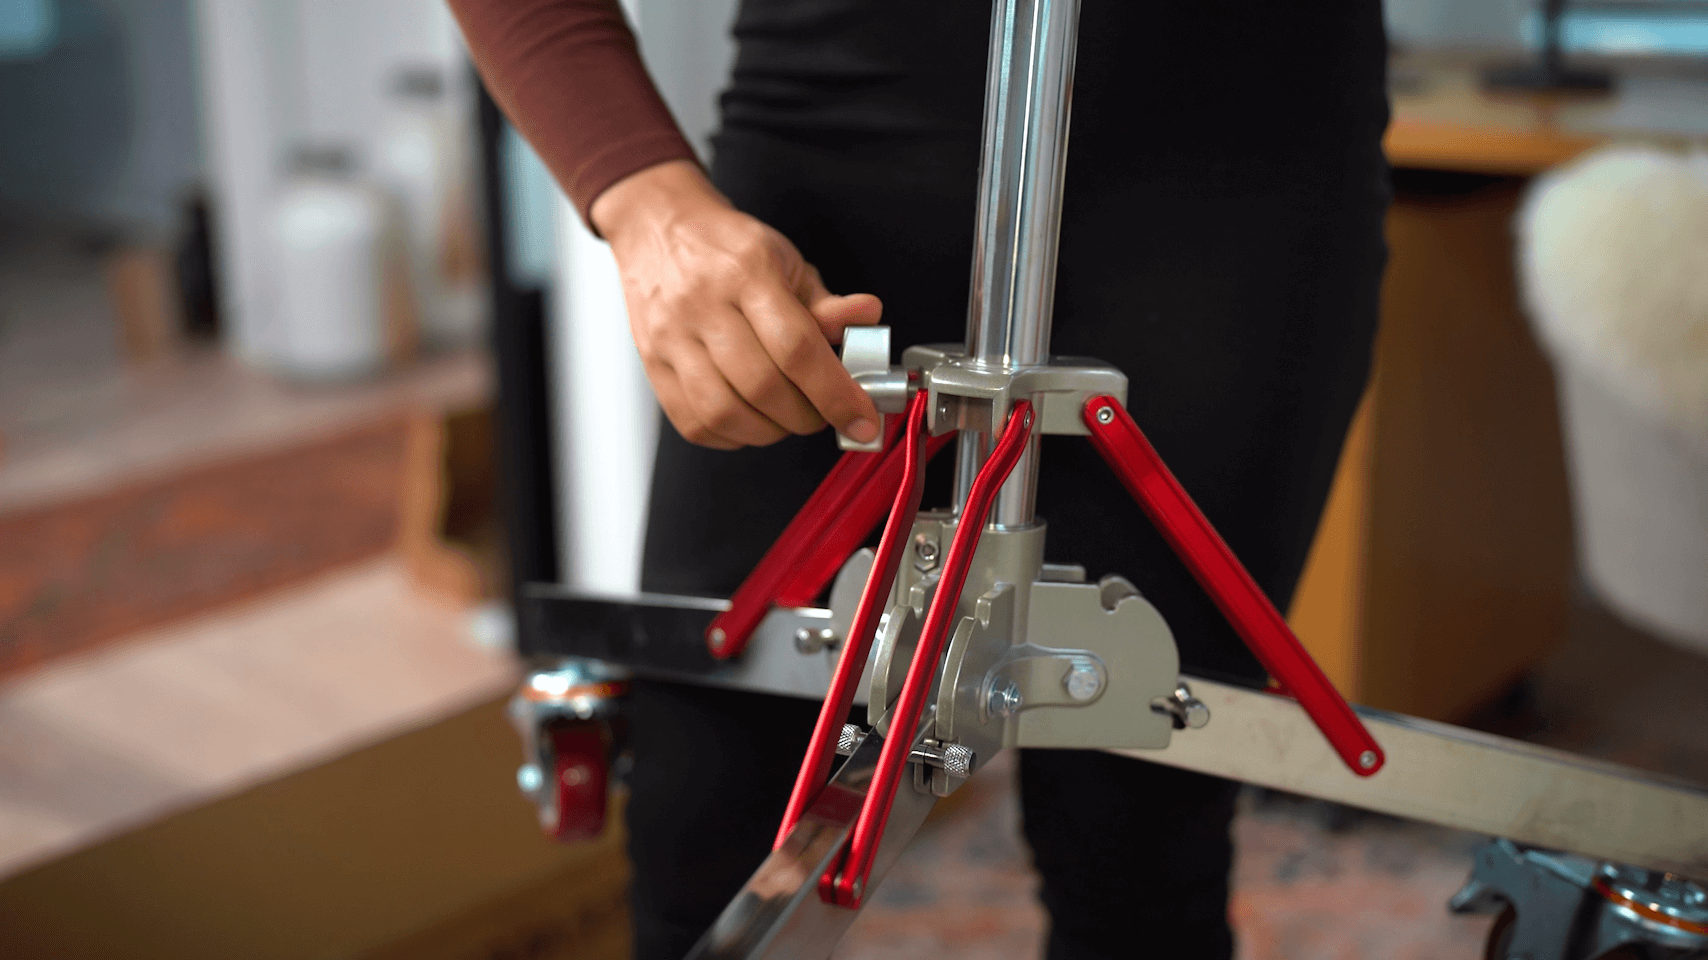
1. The Mobile Tripod Stand, Neewer Heavy-Duty Light Stand with Casters
First, we have this heavy-duty tripod stand on wheels or casters.
When you get this big thing out of the box, you just have to take everything out of the package and then screw the casters in place.
But I don’t recommend you do this if you just got a mani-pedi.
Then you loosen the screw at the base and pull the center pole up while pushing the three legs down like an umbrella. I found that easiest to lift it so I could reach the screw at the base to retighten it.
I hope you’ve been lifting weights like I have because this thing is heavy.
The tripod is adjustable so you can make it as high or low as you want.
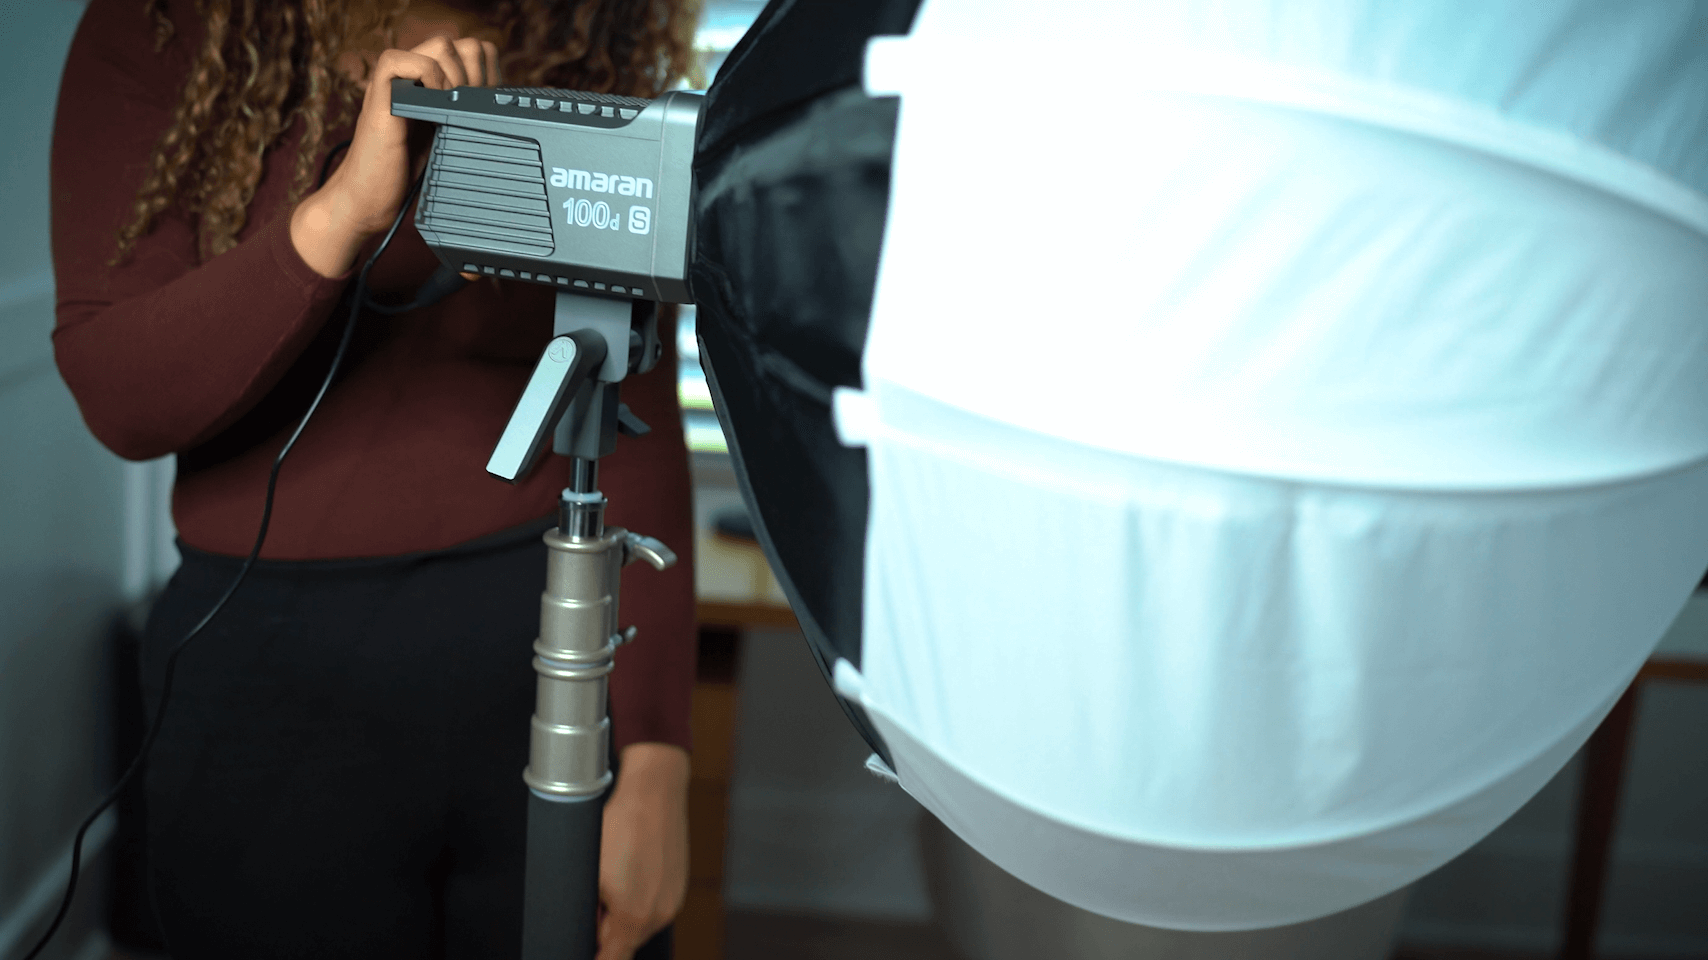
2. The Studio Light, amaran 100dS Studio Light
3. The Softbox, Aputure Lantern Softbox
The next step is to install the studio light at the top of the heavy-duty tripod stand.
I chose the amaran 100dS Studio Light with the Aputure Lantern Softbox to diffuse and soften the light and disperse the light so it doesn't create any harsh shadows.
4. The Heavy-Duty Camera Clamp, LimoStudio Super Clamp
I'm using the LimoStudio Super Clamp to attach the camera to the stand,
This clamp can hold up to 40 pounds of weight so it can support the weight of the camera and prevent an expensive accident from happening.
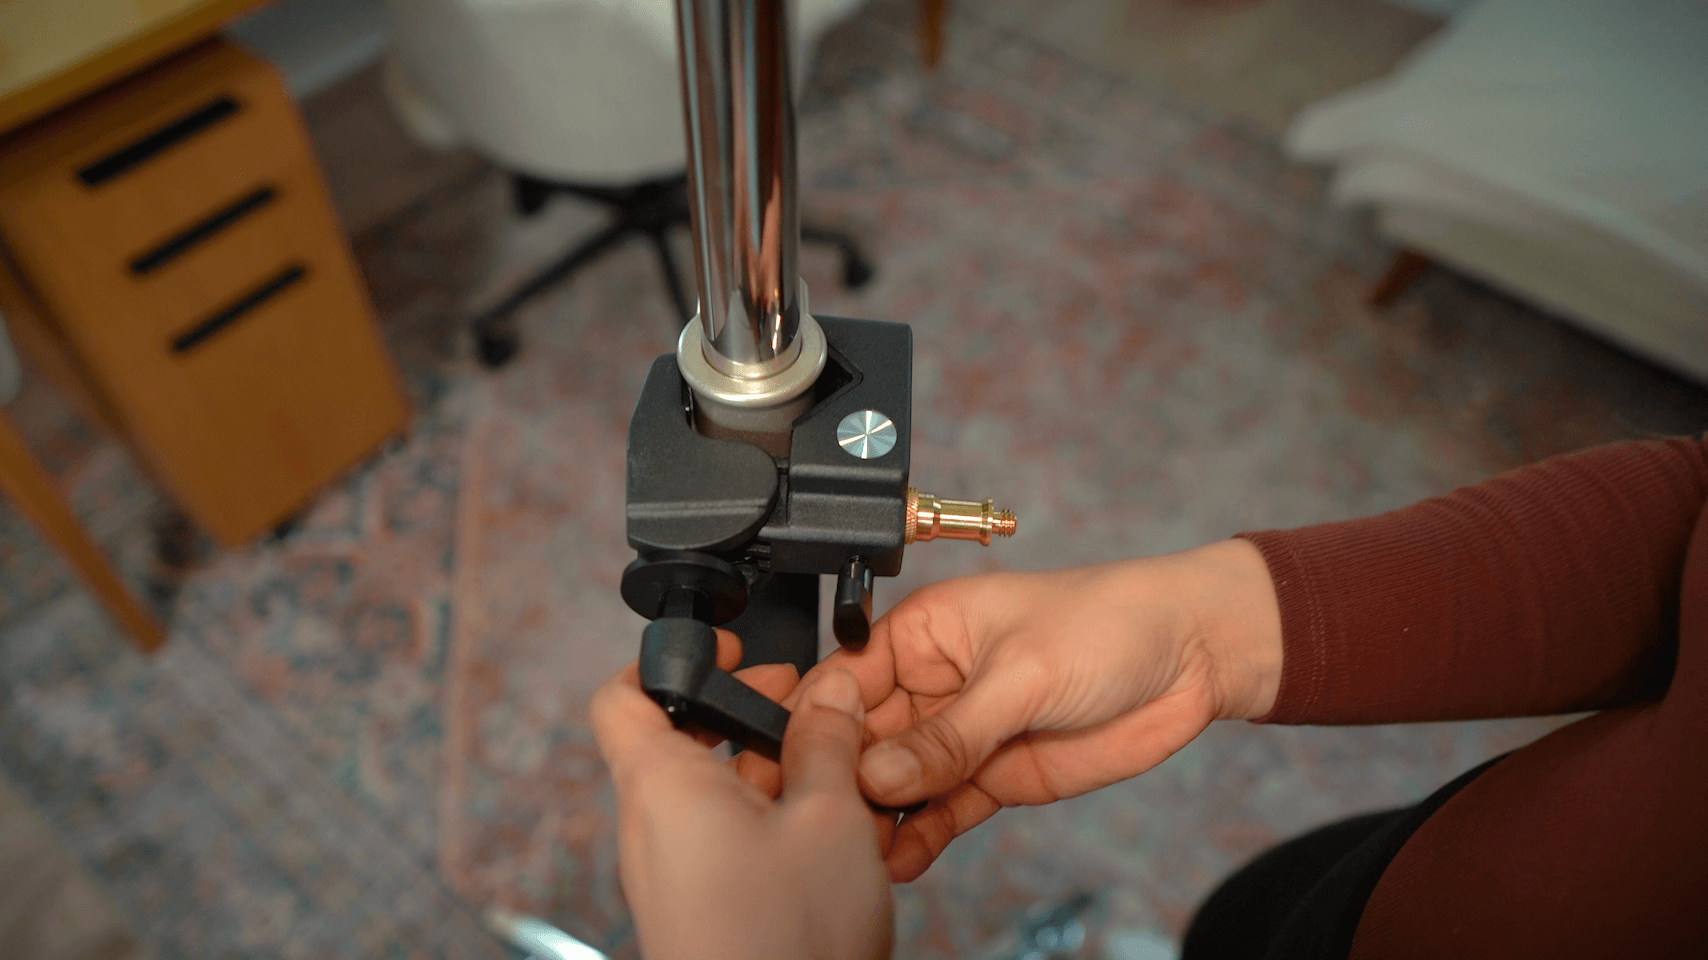
5. The Camera Extension Arm, Impact 6” Extension Arm with Spigot
Attach this Impact 6” Extension Arm to the Super Clamp:
loosen up the knob/screw on the side of the Super Clamp
press the button underneath
insert the extension arm
tighten the knob/screw to secure the arm so things are not wobbly
loosen the knob/screw at the end of the extension arm
insert the double-ended, brass spigot all the way into the hole of the extension arm, leaving the thicker part of the spigot out
tighten the knob/screw to secure the spigot
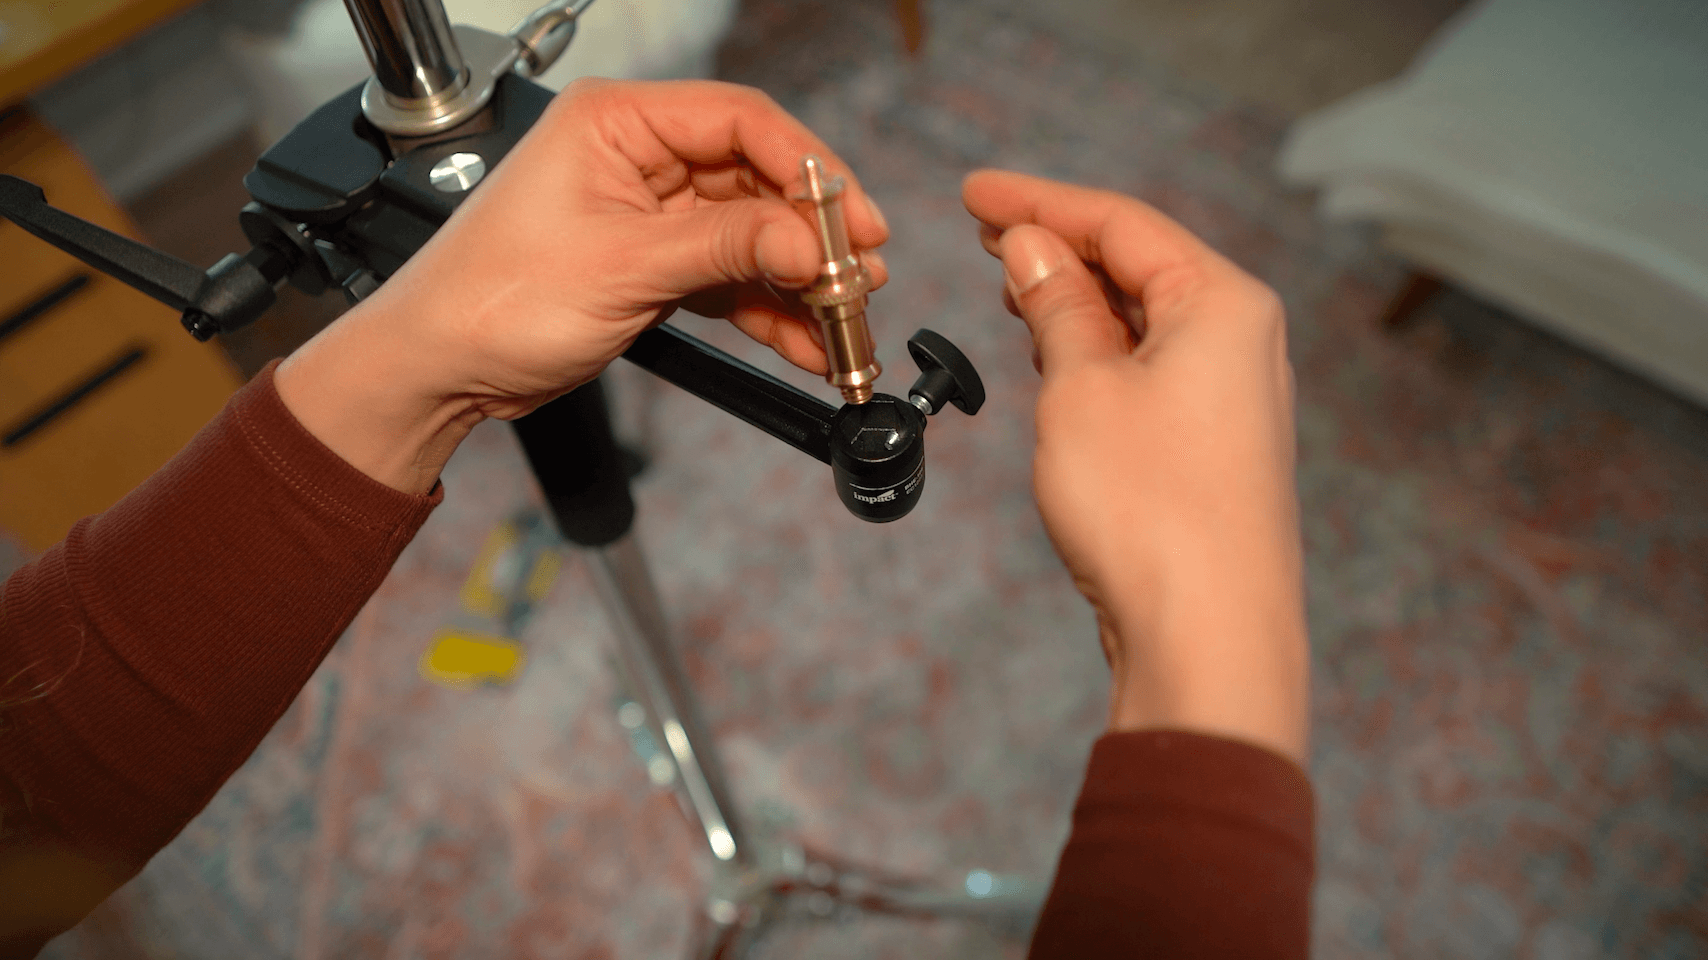
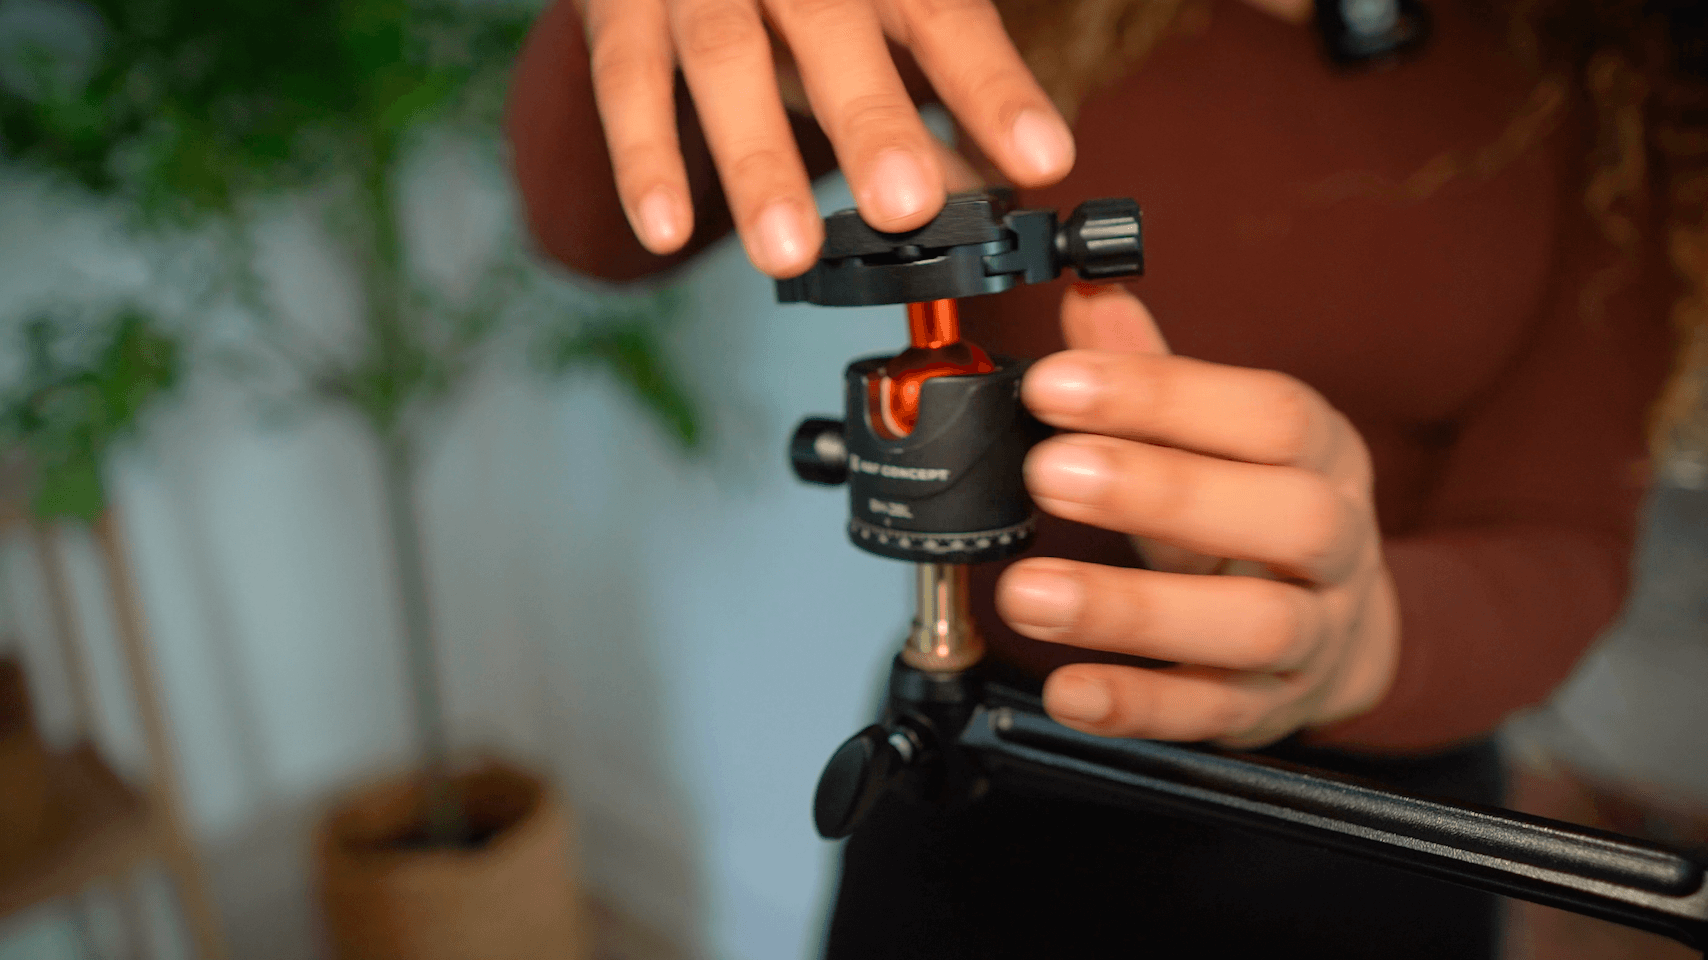
6. The Tripod Ball Head, K&F Concept Tripod Ball Head
Next, attach the tripod ball head to the brass spigot on the extension arm.
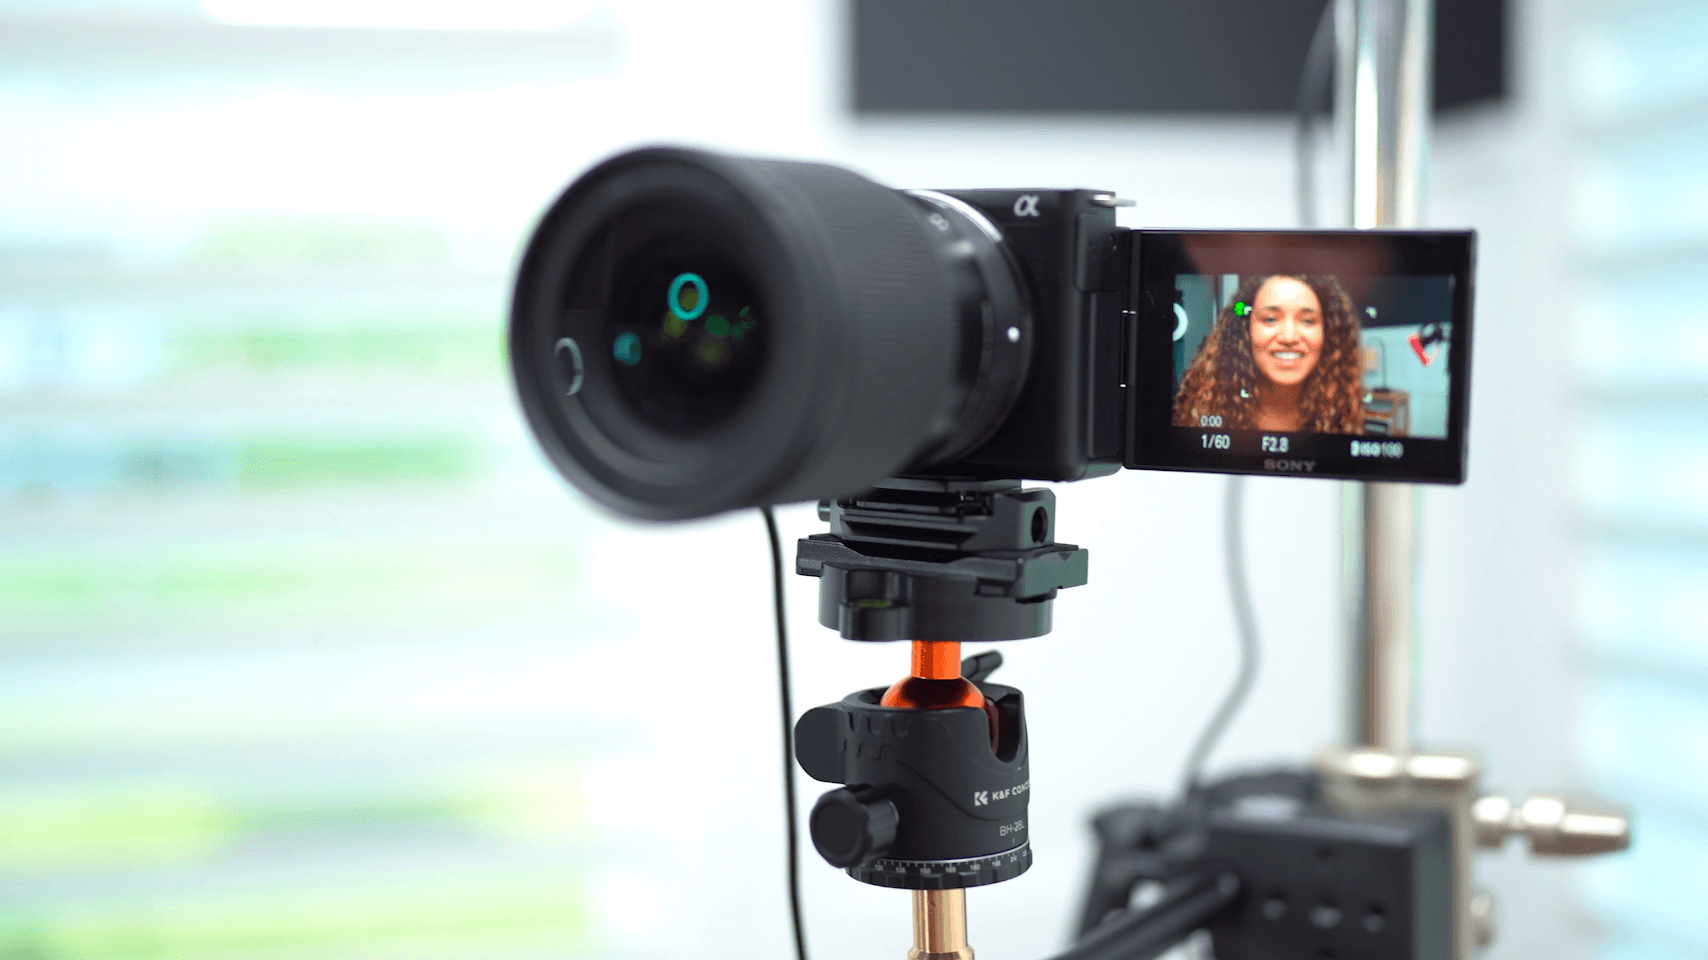
7. The Camera, Sony Alpha ZV-E10 Mirrorless Camera
8. The Lens, Sigma 16mm Lens
Finally, attach your camera to the tripod ball head.
The camera I'm using is the Sony ZV-E10 with the Sigma 16mm Lens.
The benefits of using the Sigma 16mm Lens:
this wide-angle lens makes my small office look more spacious
I can sit closer to the camera and keep my computer and microphone within arm's reach so I don’t have to leave my seat to press record
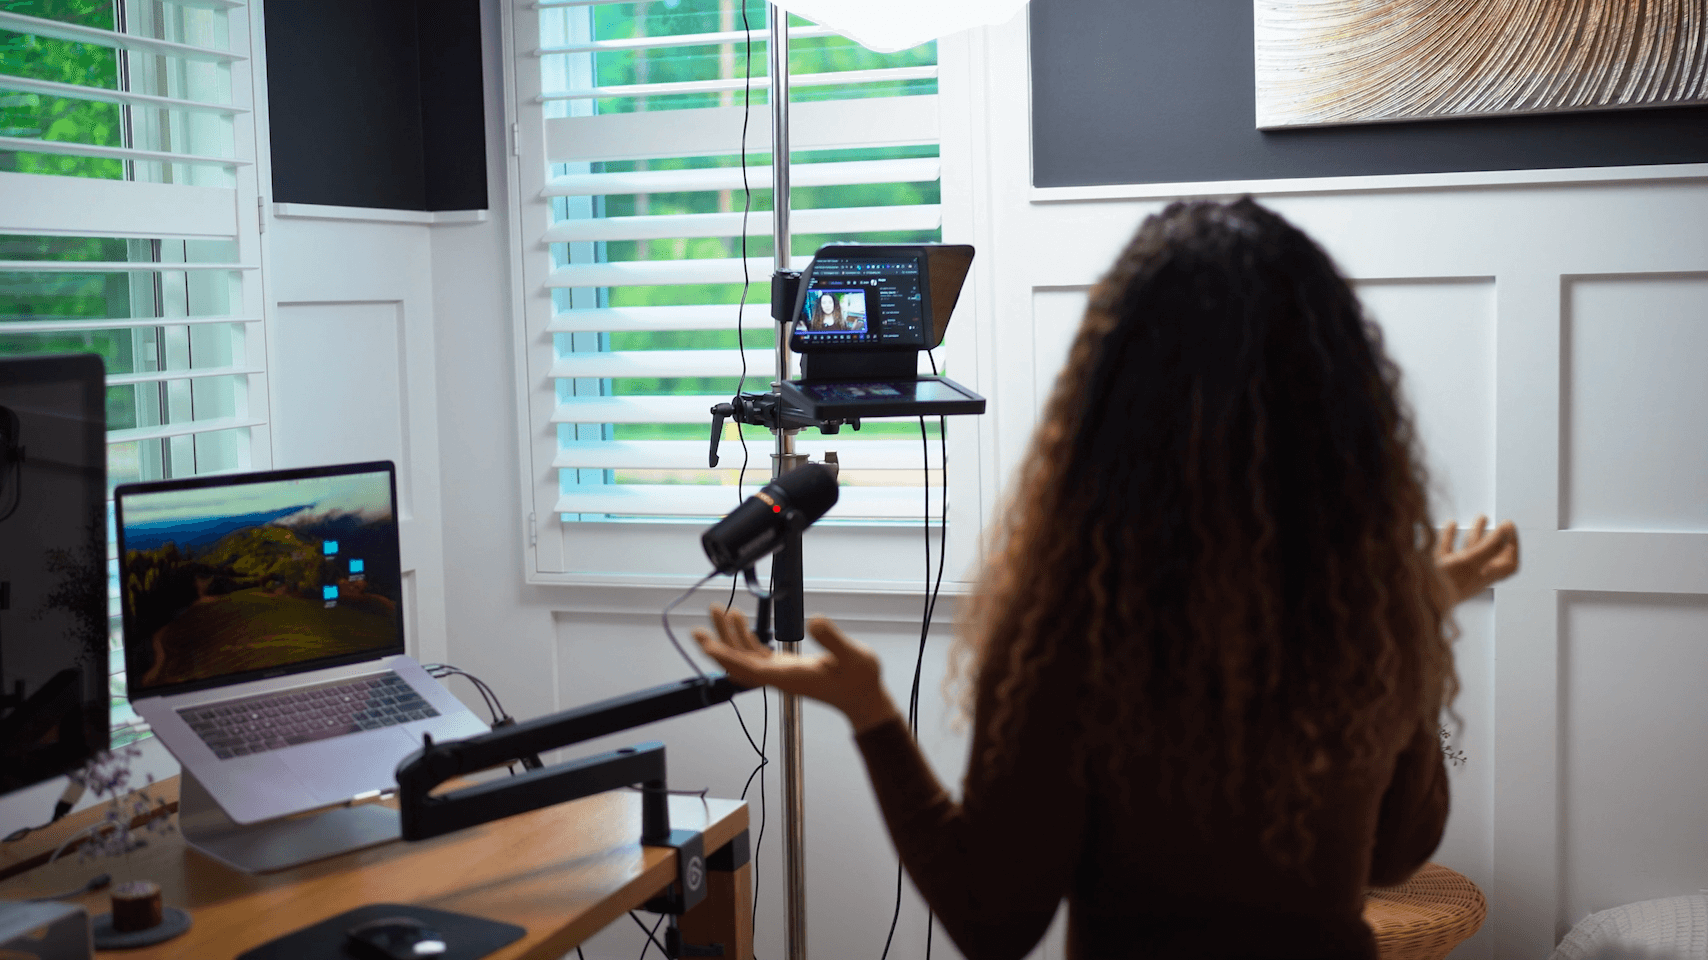
9. The Teleprompter, Elgato Teleprompter with Built-In Screen
And the last touch for this video studio on wheels is Elgato Prompter.
This is the best piece of equipment I've ever purchased.
It's very light so you can attach it to the camera lens. It comes with various attachments and step up rings for different situations.
Simply attach a step up ring to the front of your lens.
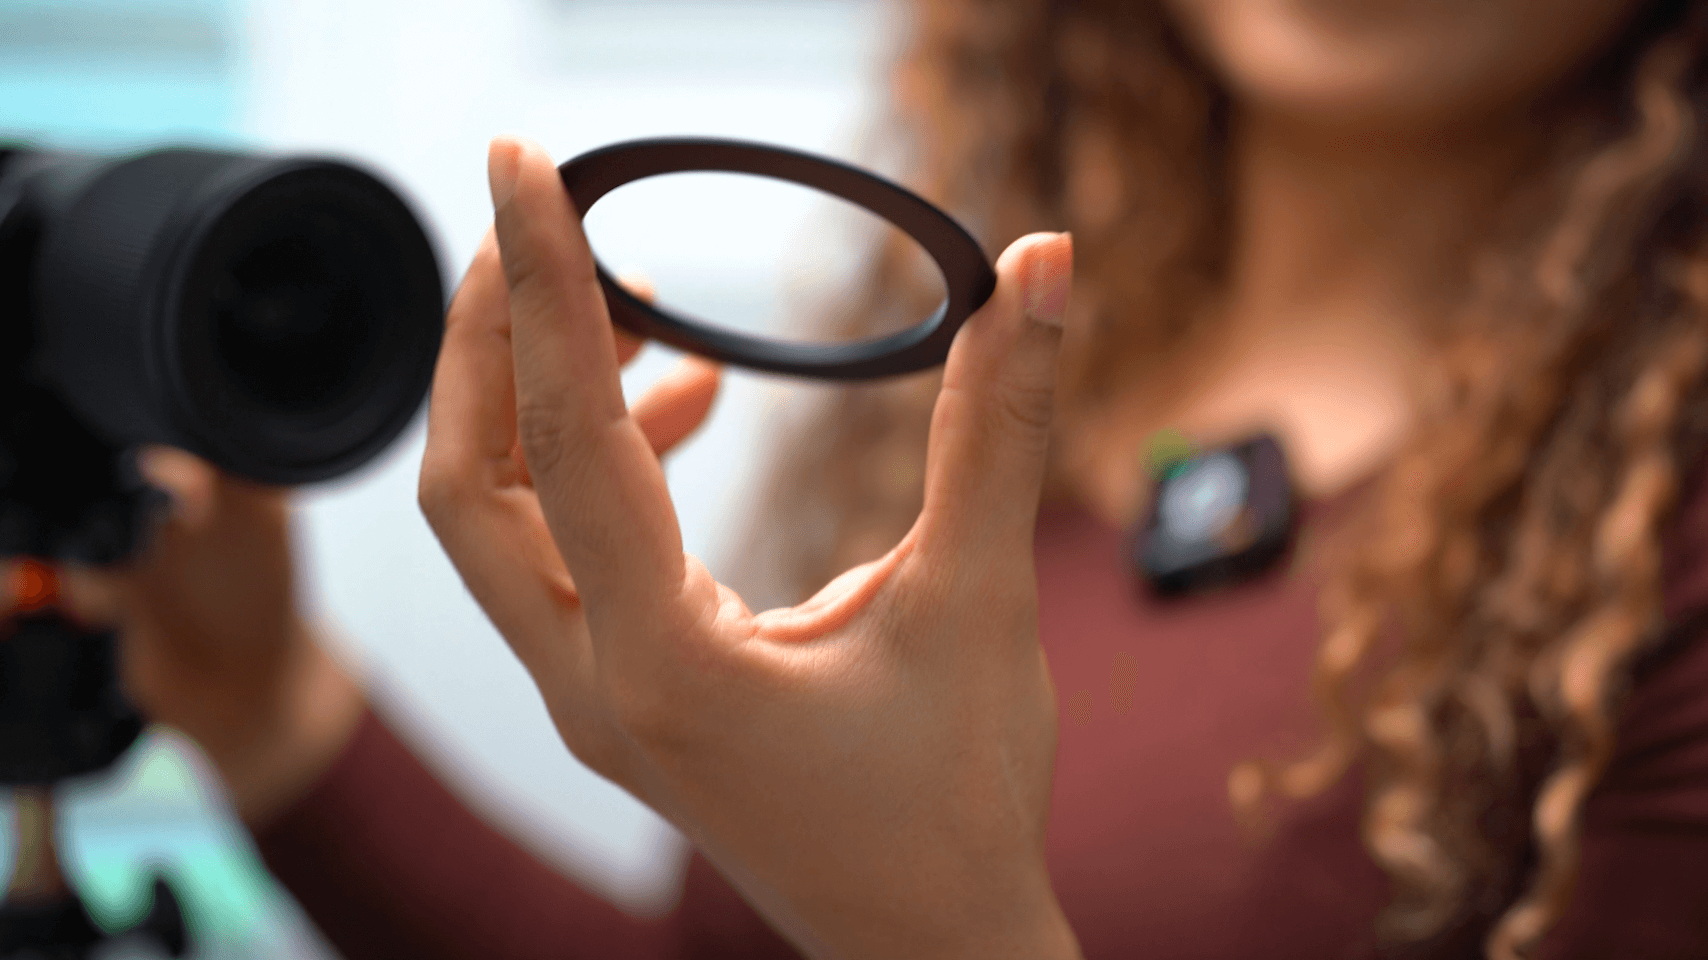
Then slide the teleprompter onto the step up ring.
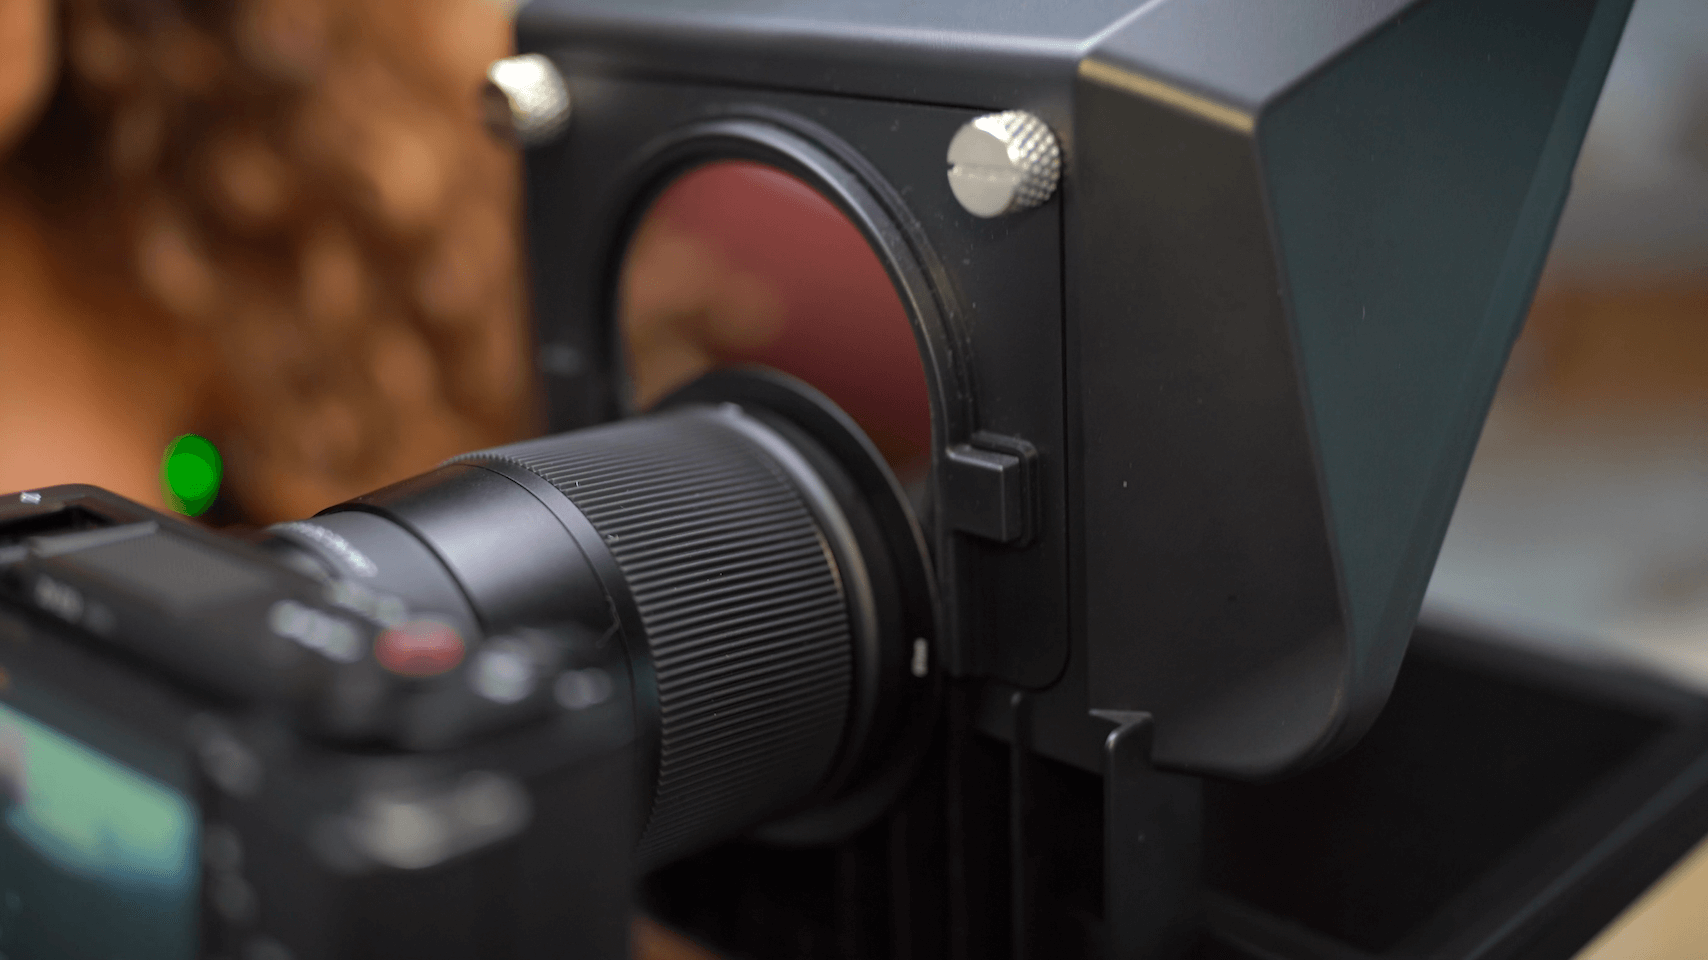
Next, plug the teleprompter into your computer.
Check this out…
Elgato Prompter acts as a display extension so you can drag various things from your computer onto the teleprompter screen:
Scripts
Outlines
Riverside
Zoom
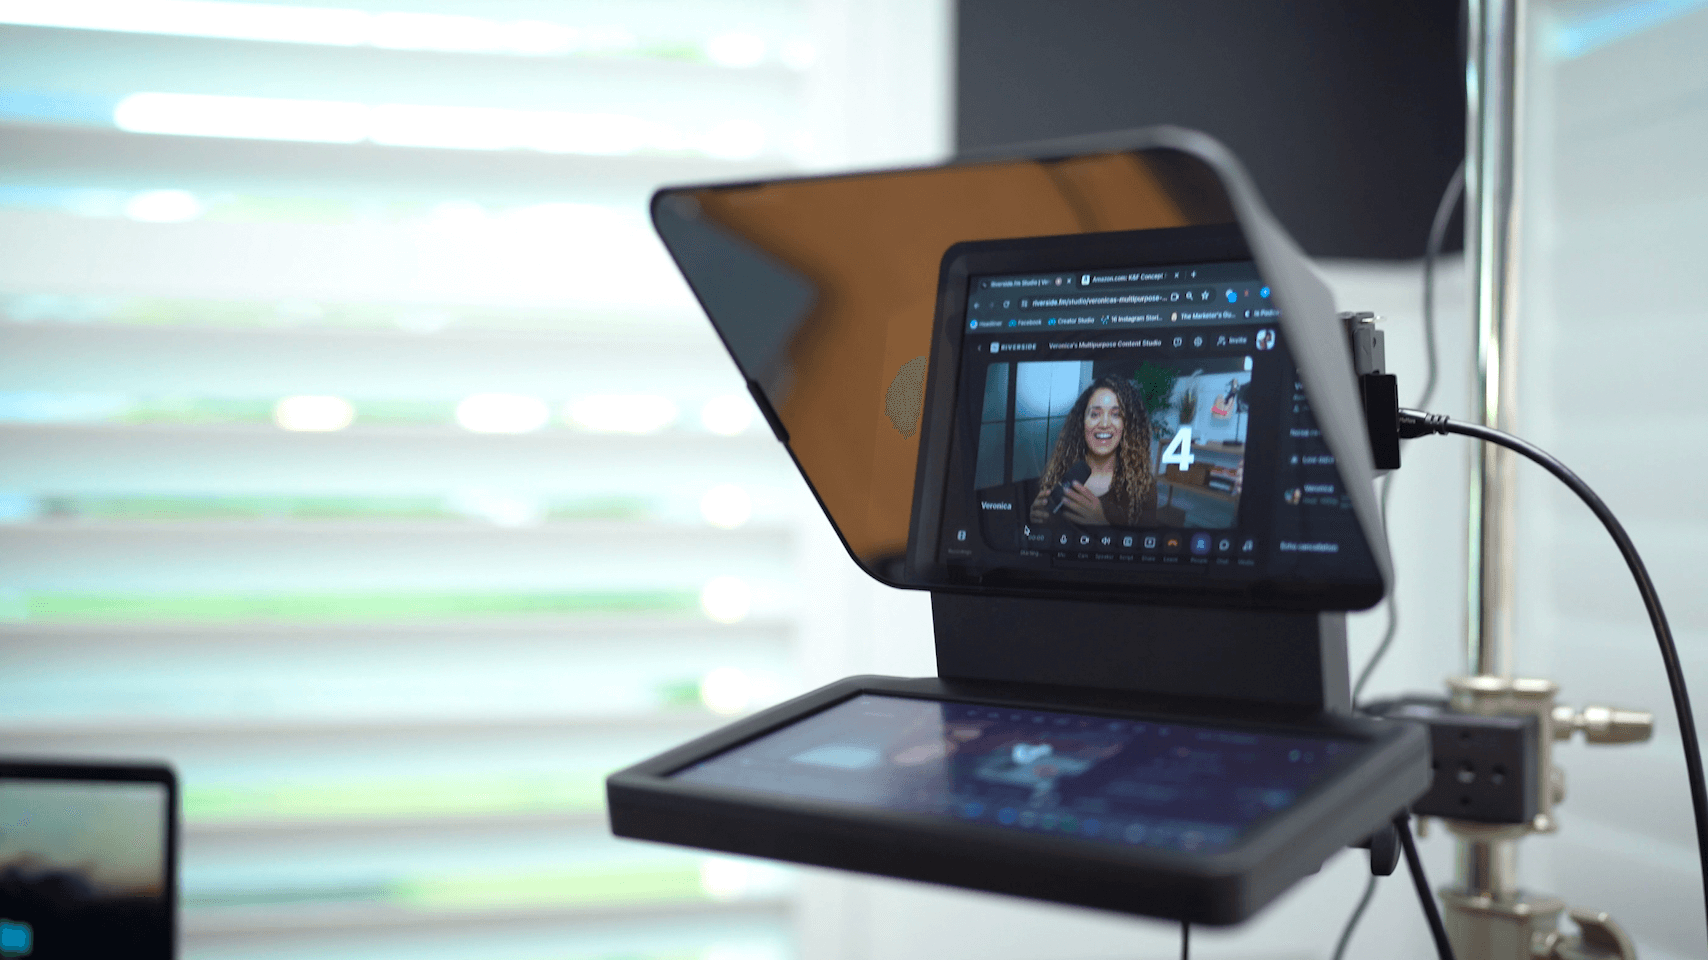
This display extension feature allows me to look straight at the guest on the teleprompter screen and into the camera at the same time. No more looking down or over to your computer screen to see your notes!
Get Elgato Prompter. It will make your content creation a lot easier.
And here it is. This is a really cool shot for my video podcast.
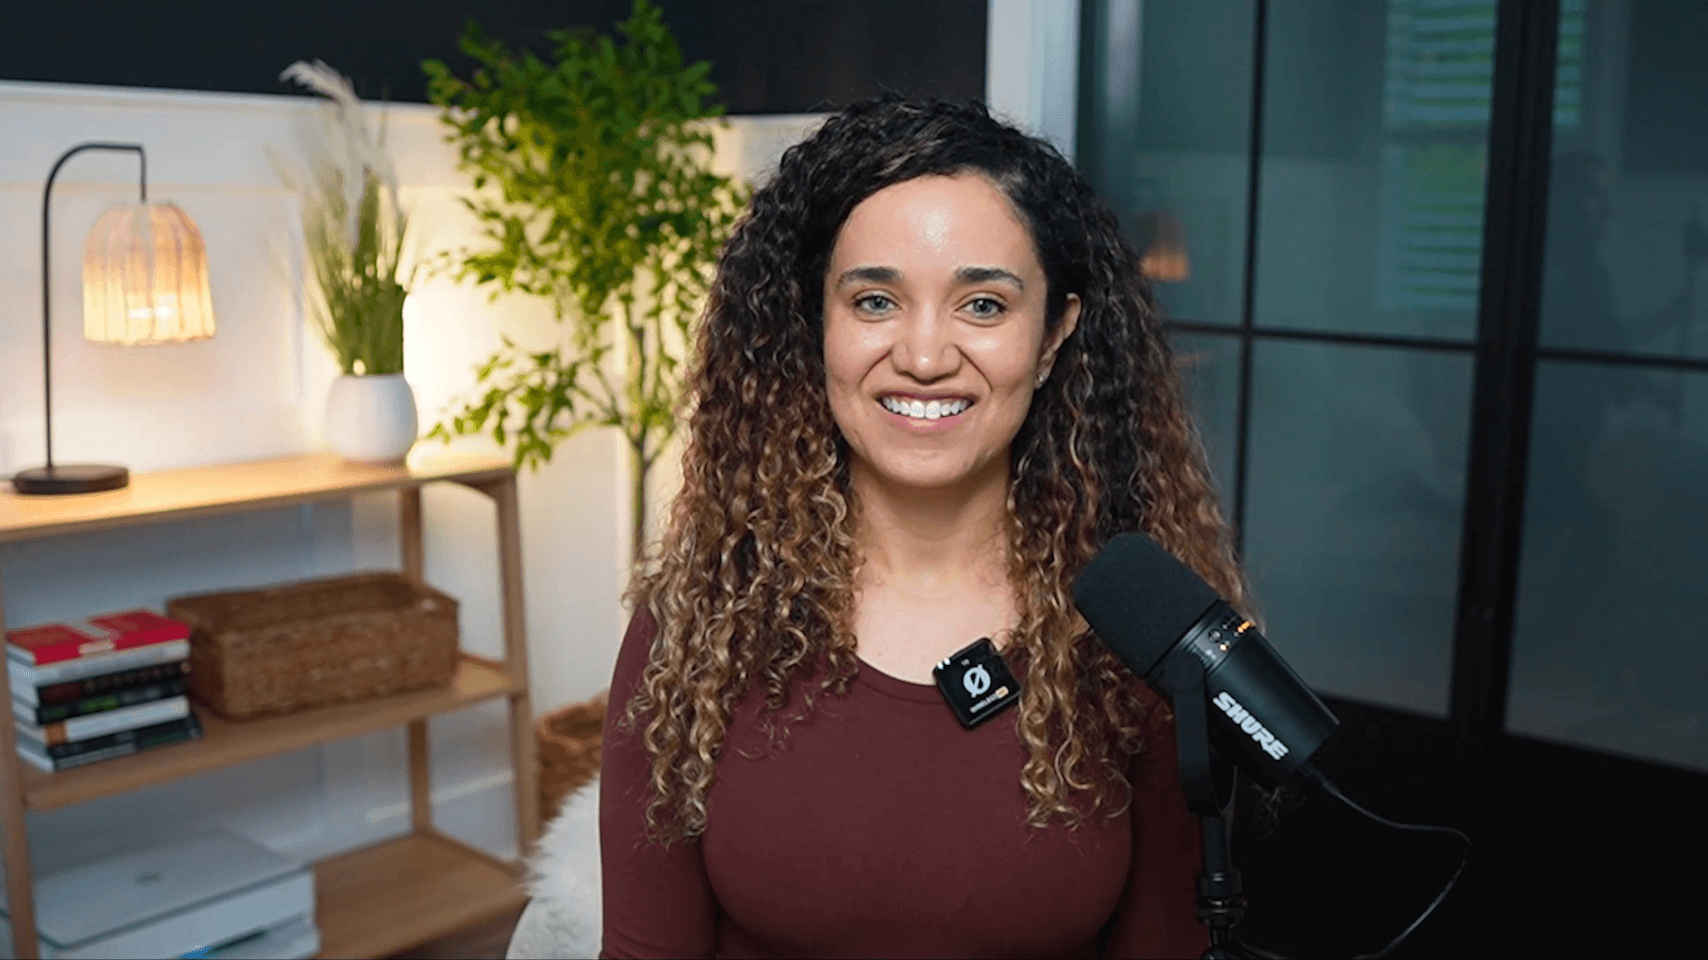
What I love about this is that I can pull my microphone, reach my computer, and look amazing!
1. The Tube Light, Aputure MT Pro Full-Color Mini LED Tube Light
2. The Accent Light Bulb, Aputure Accent B7C Smart LED Light Bulb
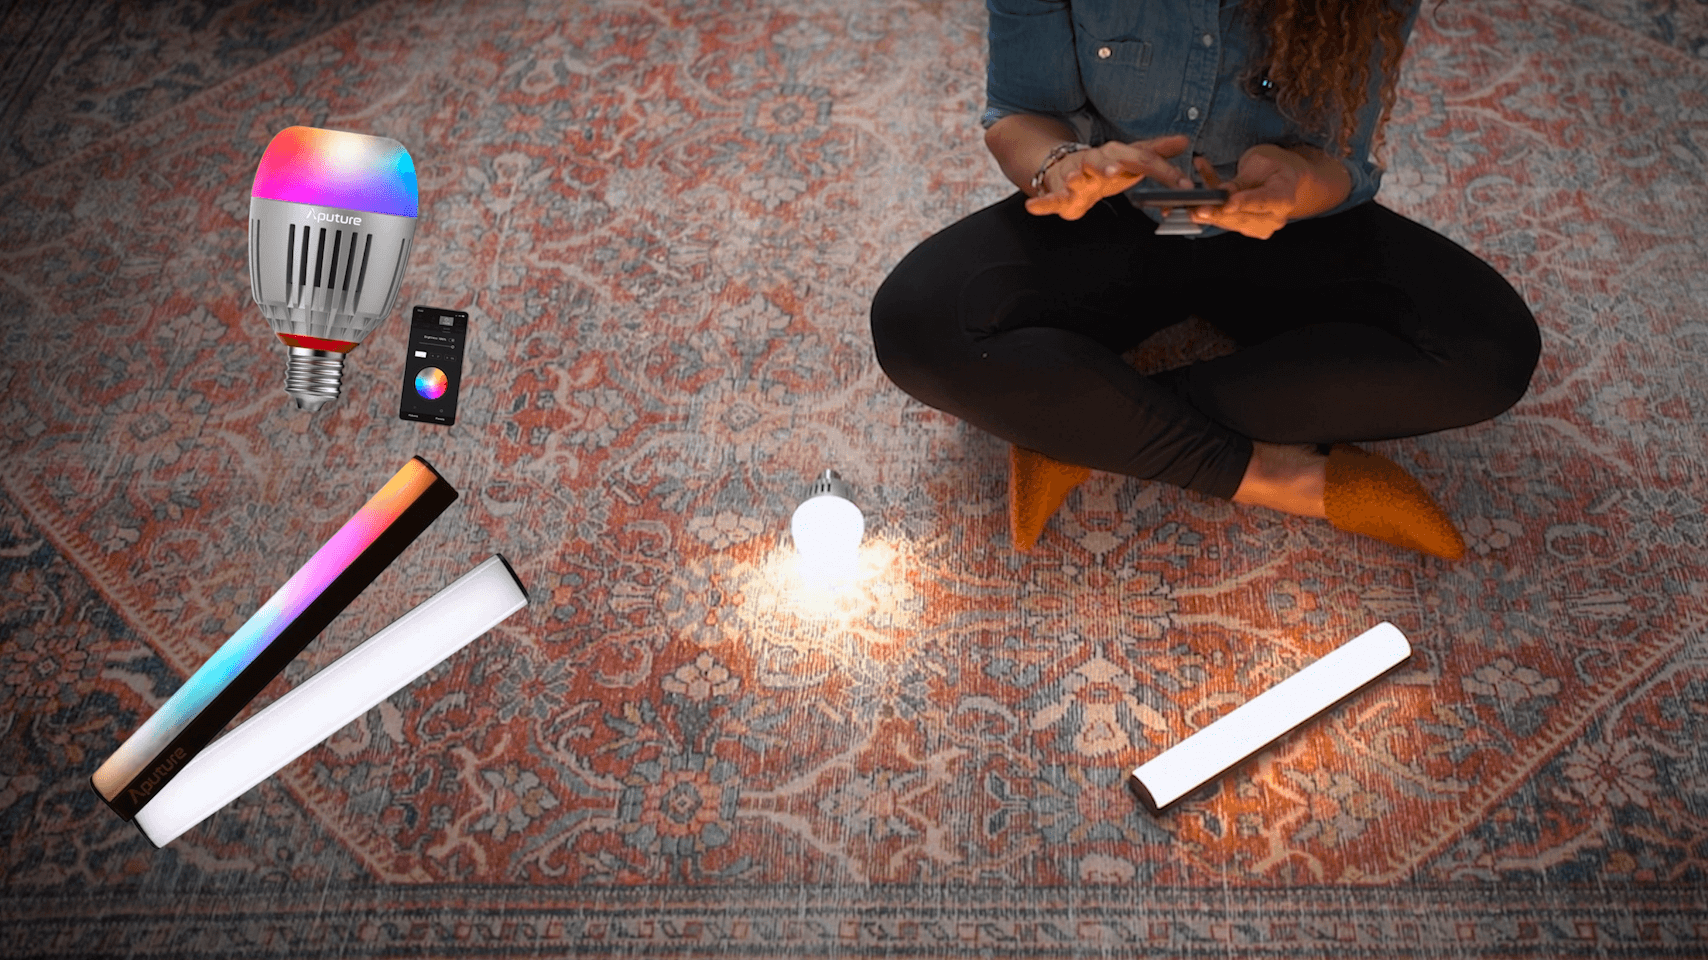
I'm using these 2 lights instead of regular lights so I can control the color temperature of my scene.
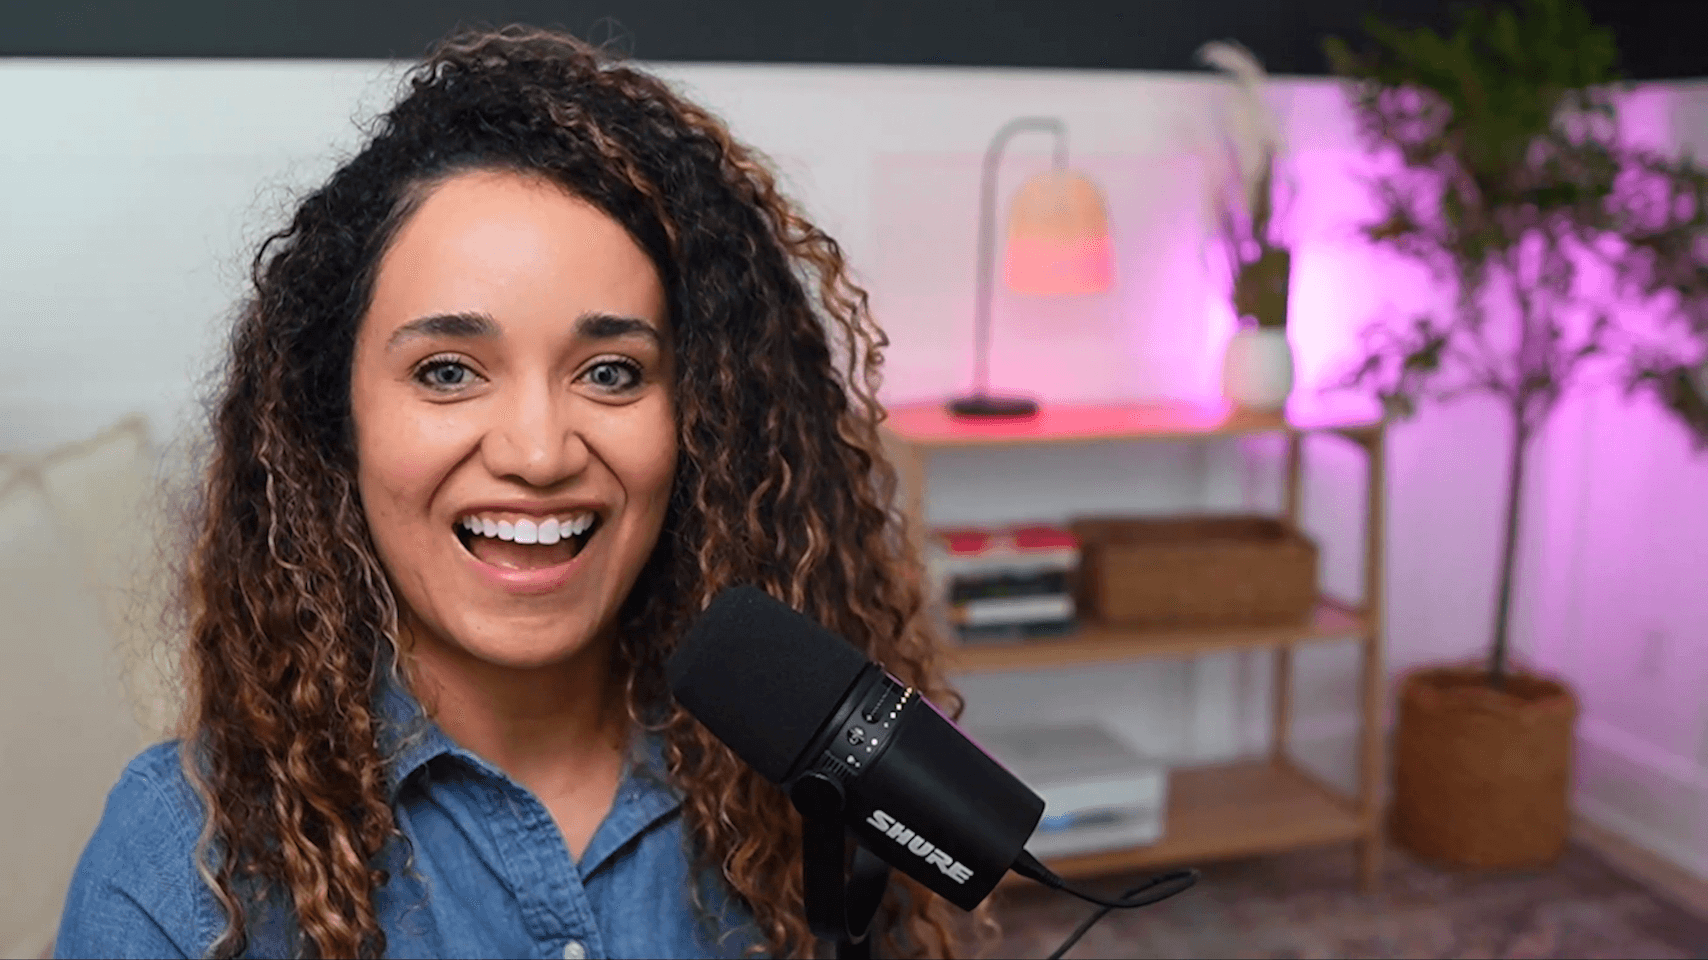
But even more than the color balance, I love that I can dim these lights and both can be battery-operated.
Now, this type of setup only works if you are recording your video podcast and content solo or remotely.
If you're recording with a co-host or a guest on location, you need a different setup and different equipment.
Use several cameras for distinct viewpoints, or record one sufficiently detailed wide shot and create tighter crops in the edit. Those crops are not separate camera angles. Match the recording resolution to the final delivery size.
I hope the steps and gear I’ve shared have inspired you to create your own versatile studio.
Whether it's recording high-quality video podcasts, capturing engaging social media content, or conducting client meetings, a studio that’s equipped for your workflow can significantly increase your productivity and content quality.
Remember, the key is to plan thoughtfully, choose the right tools, and ensure your space is adaptable to various content creation activities. With a little creativity and effort, you can turn any room (even a small one like mine) into a dynamic studio that supports your goals and reflects your personality.
Thank you for hanging out with me as I designed, unpacked, and set up my new at-home multipurpose content studio office. Now, it’s your turn to create a space that not only inspires you but also helps you produce amazing content efficiently. Happy creating!